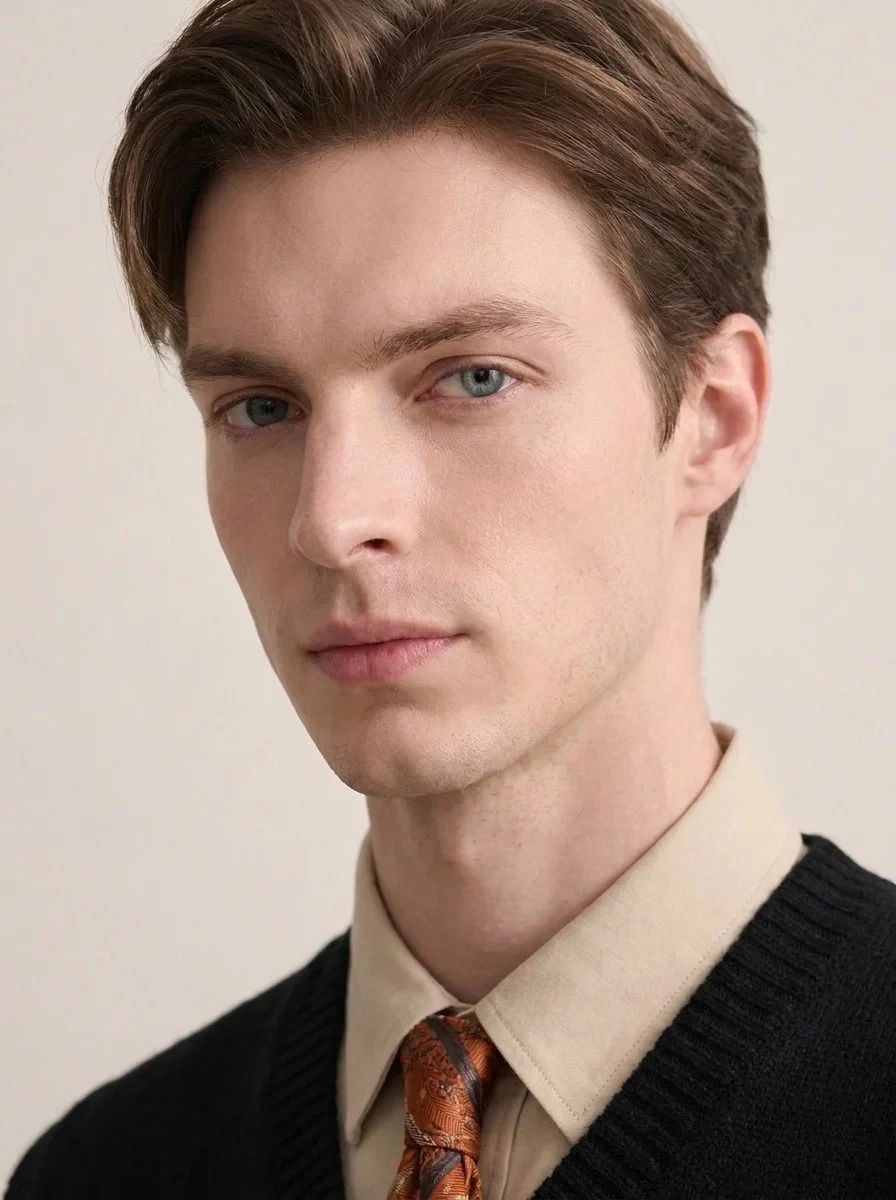
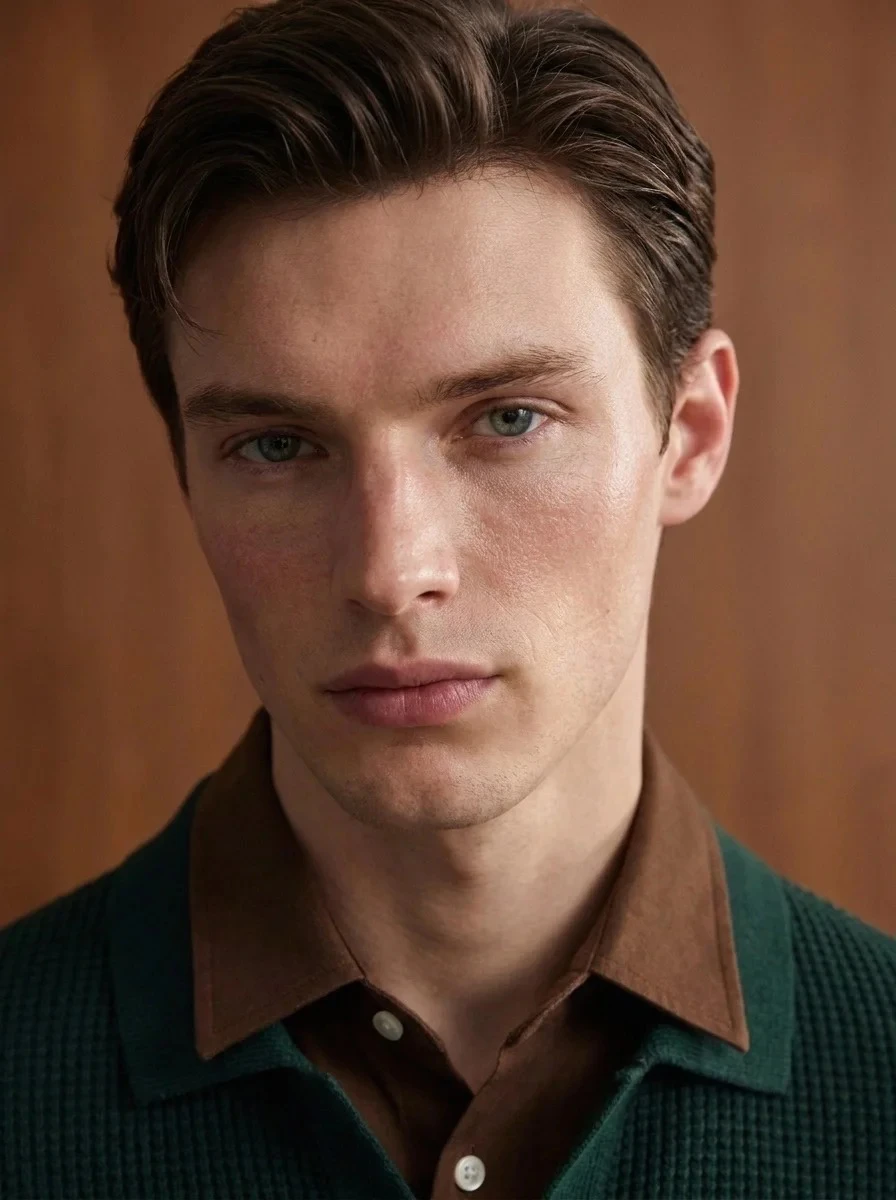
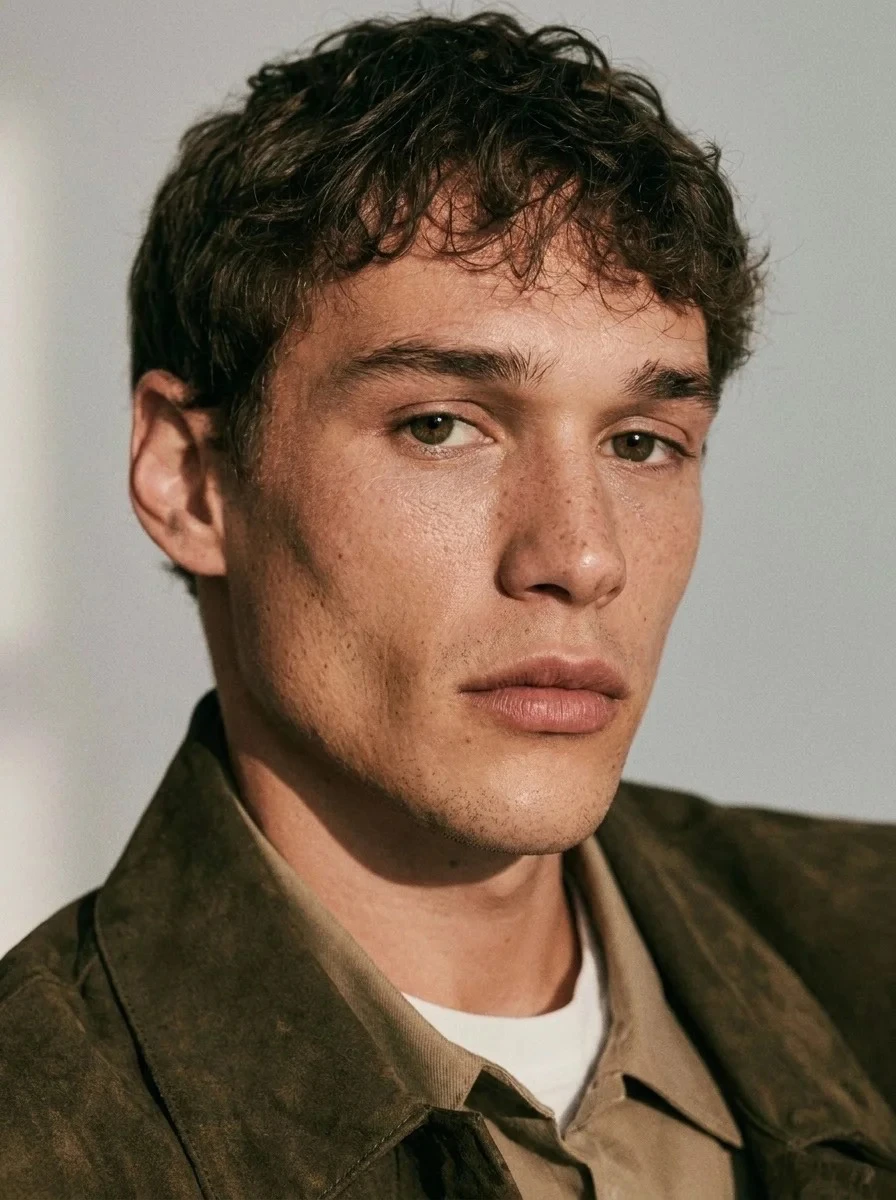
Product fidelity
Study how a visual workflow preserves silhouette, construction and surface detail. Keep the actual product source visible during review, and log discrepancies at seams, edges and prints rather than judging only the overall mood.
stellar / EXPLORE
Ideas to collect. Methods to make your own. Explore the thinking behind a considered fashion image, from the first reference to the final review.
Explore the collection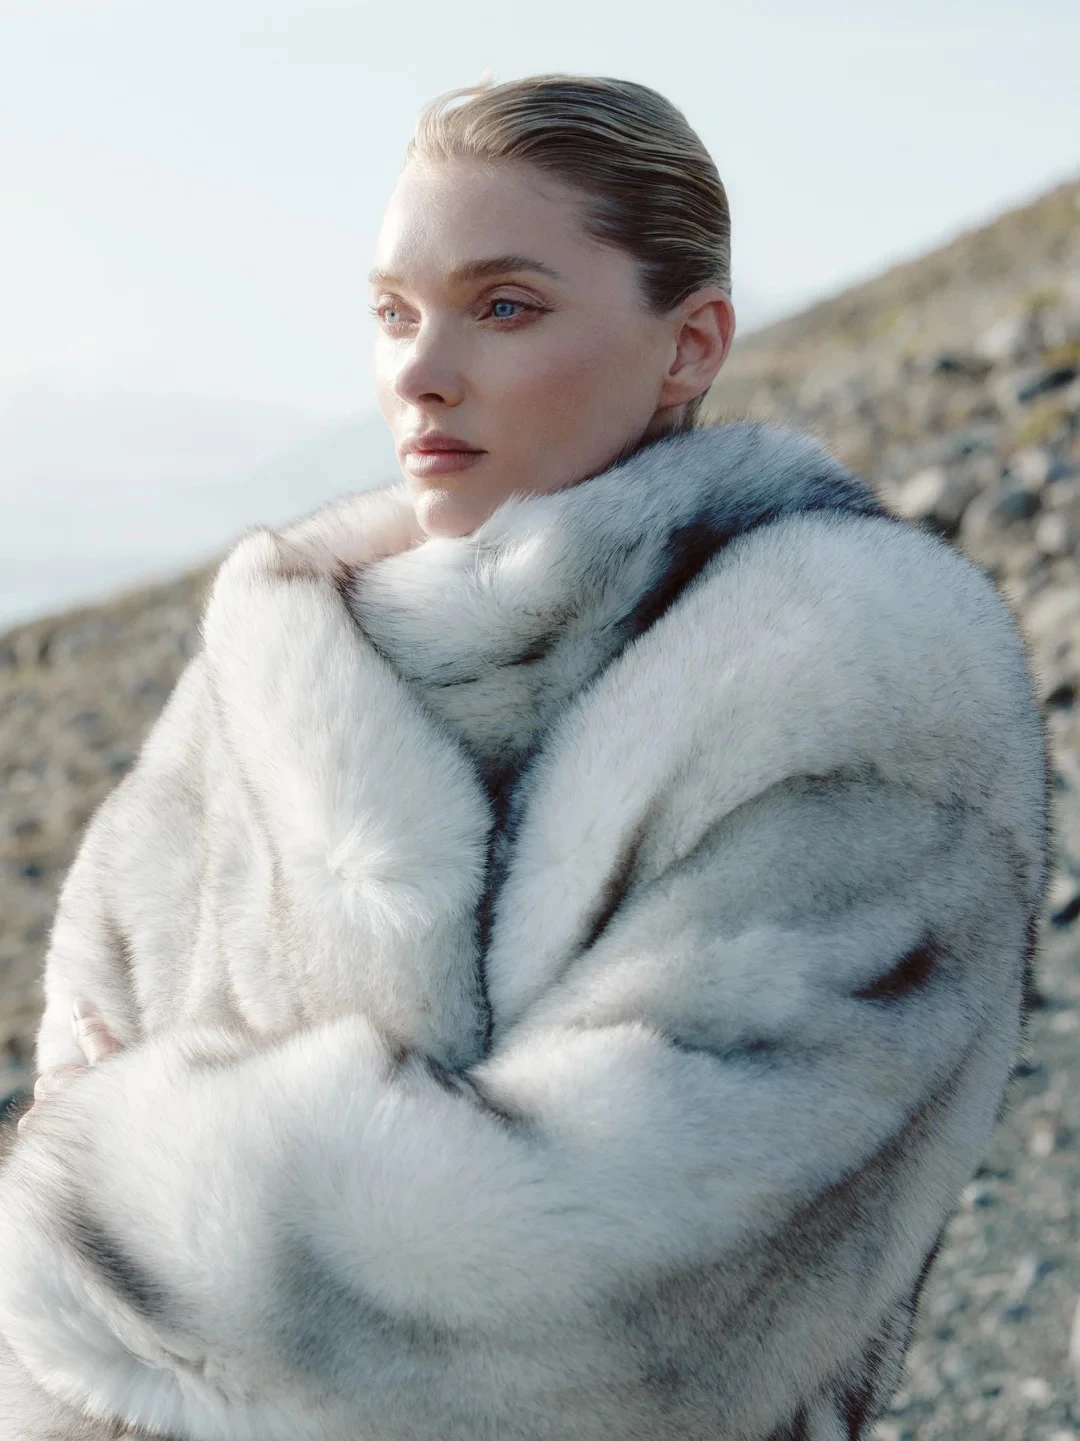
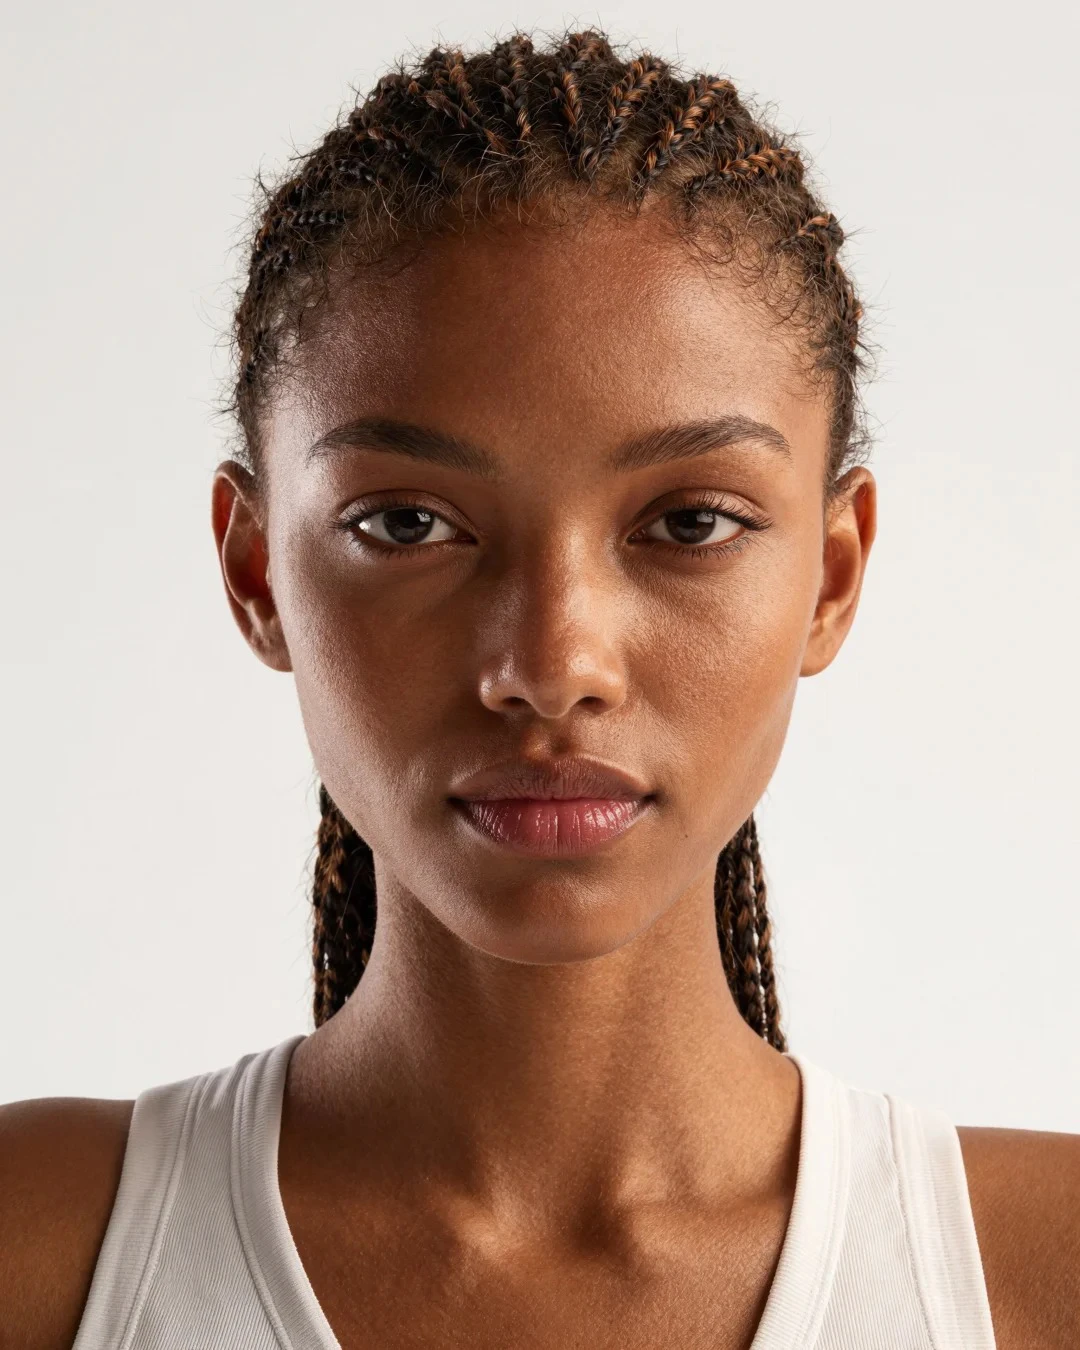
01 / THE JOURNAL
Five complete guides to source material, model direction, commerce imagery and a coherent brand language.
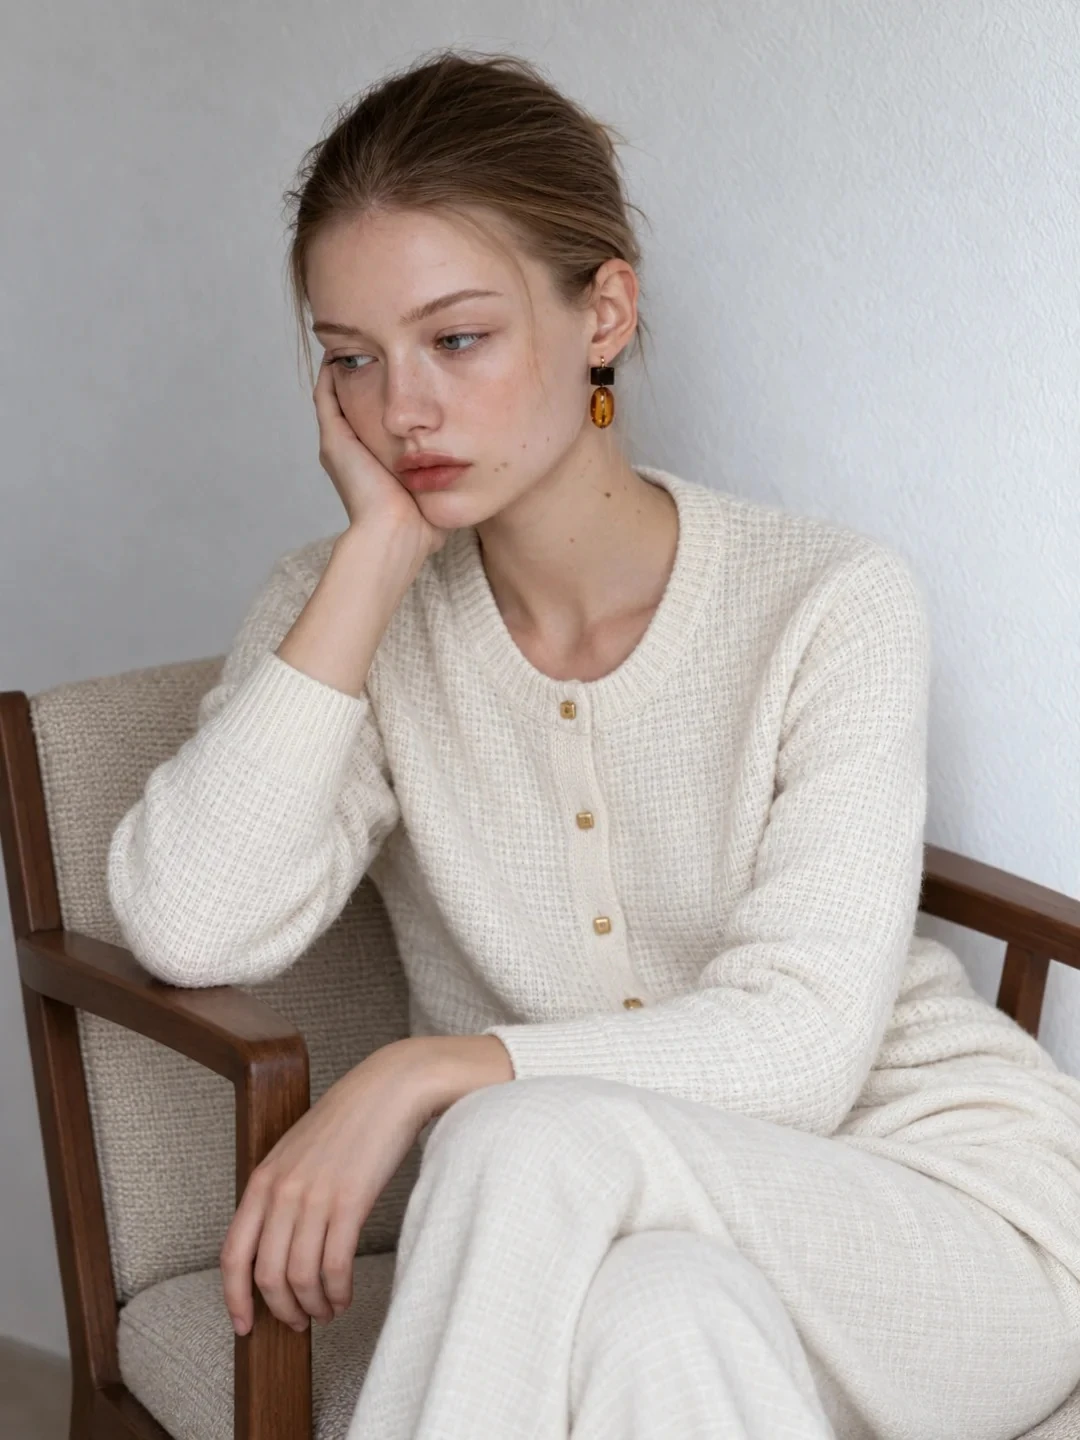 01
Start with the garment. Build a clear visual brief. Give every image a reason to exist.
Read the full storyBefore selecting a model or a background, list the details a shopper needs to see: length, silhouette, fastening, texture and fit. Photograph the actual garment in even light. Keep the source alongside every later variation so that a strong visual never replaces an accurate description.
Choose the mood, framing, light direction and background before producing a series. A useful brief might ask for full-length views, a quiet neutral set and a relaxed standing pose. Keep a reference image for each decision; a collection of unrelated references makes consistency harder to judge.
Use the model gallery to explore the visual character of a look. Consider whether the pose reveals a sleeve, hides a pocket or compresses a drape. The goal is a coherent presentation of the garment, not simply a striking face.
Inspect the full image for balance, then zoom in to seams, prints, hands and garment edges. Compare colour with the source rather than with memory. Record unclear details as review notes instead of treating them as approved. A compelling image and an accurate product image need separate checks.
Give each frame a job: a clear first view, an alternate angle, a material detail and an image that communicates mood. Keep crop, spacing and background consistent within a product family. Review the set on a small screen before choosing which images belong in a storefront.
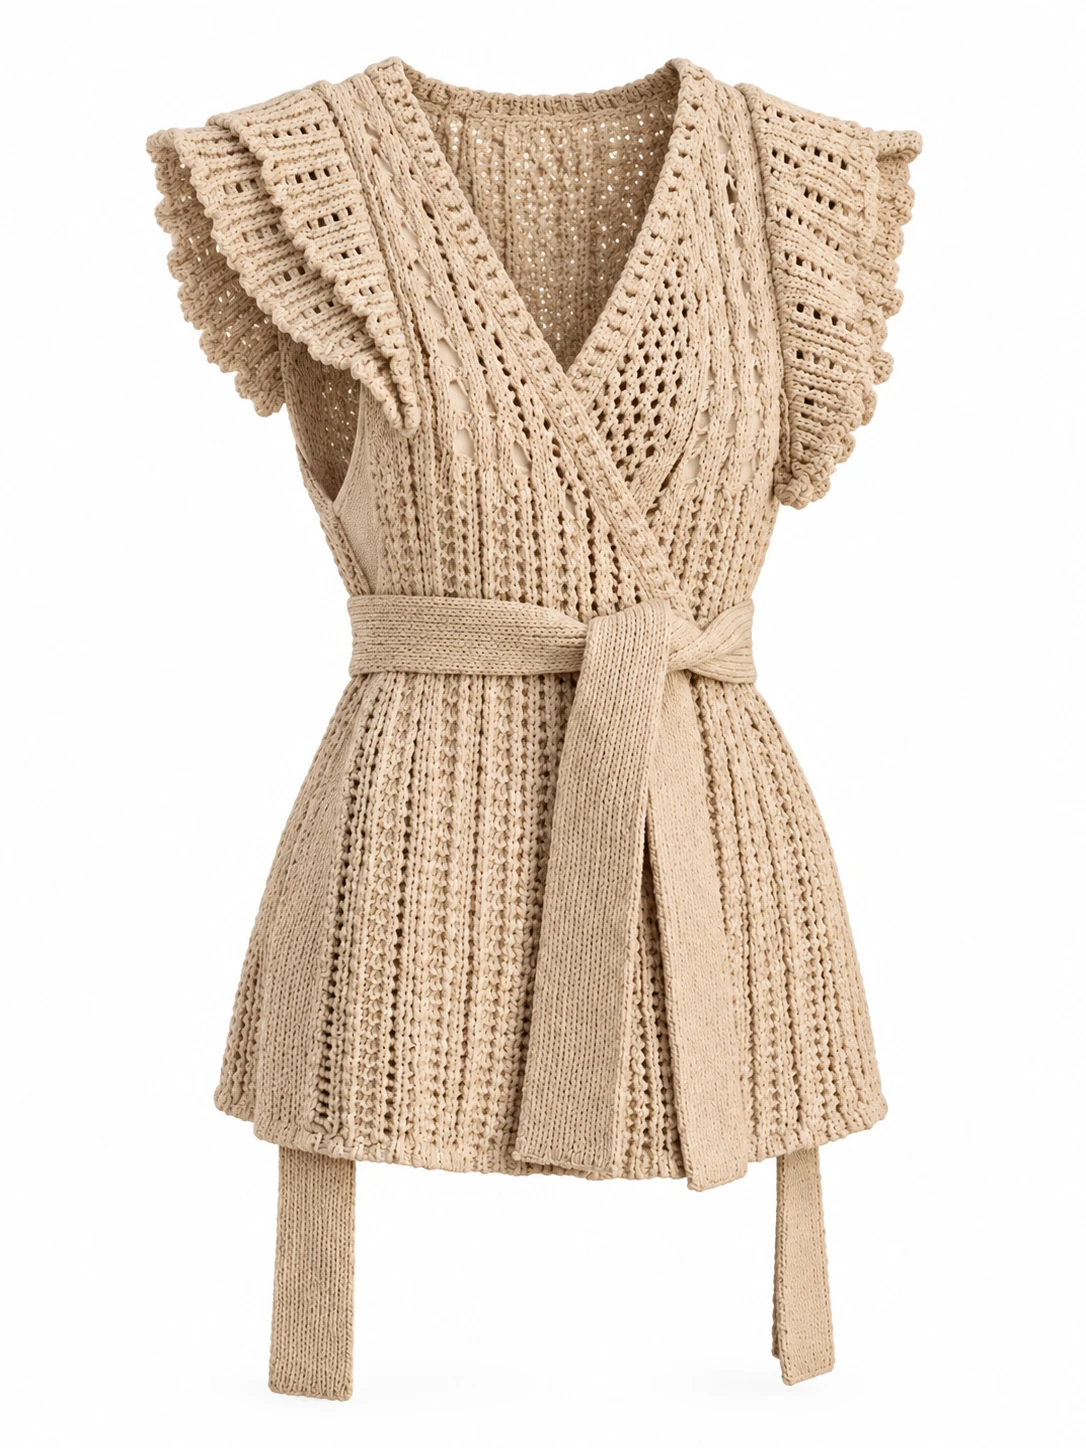 02
What to prepare when a garment starts on a mannequin rather than a person.
Read the full storyKeep the neckline, sleeves and hem inside the frame, and avoid a camera angle that stretches the proportions. A straight, evenly lit source gives a reviewer more information than an atmospheric crop. Keep a separate close-up if the garment has a distinctive weave or small decorative detail.
Note which features belong to the garment and which come from the mannequin setup. Pins, clips, folded sleeves and temporary tucks can change the visible fit. Describe those choices in the brief so that later imagery is reviewed against the intended way of wearing the product.
A straight standing pose can make length and silhouette easier to compare across a range. A turning or seated pose may communicate movement but can hide key details. Plan a clear product view first, then add expressive frames only where they bring useful information.
A front photograph cannot confirm the construction of the back. If the intended shot needs an unseen angle, request another source image rather than inventing a zip, seam or pocket. Place missing views on the production checklist so they are visible before the final review.
Collect the source images, preferred model direction and intended framing in one brief. Note which details must stay unchanged and which need another source view, so the next review starts with a clear plan.
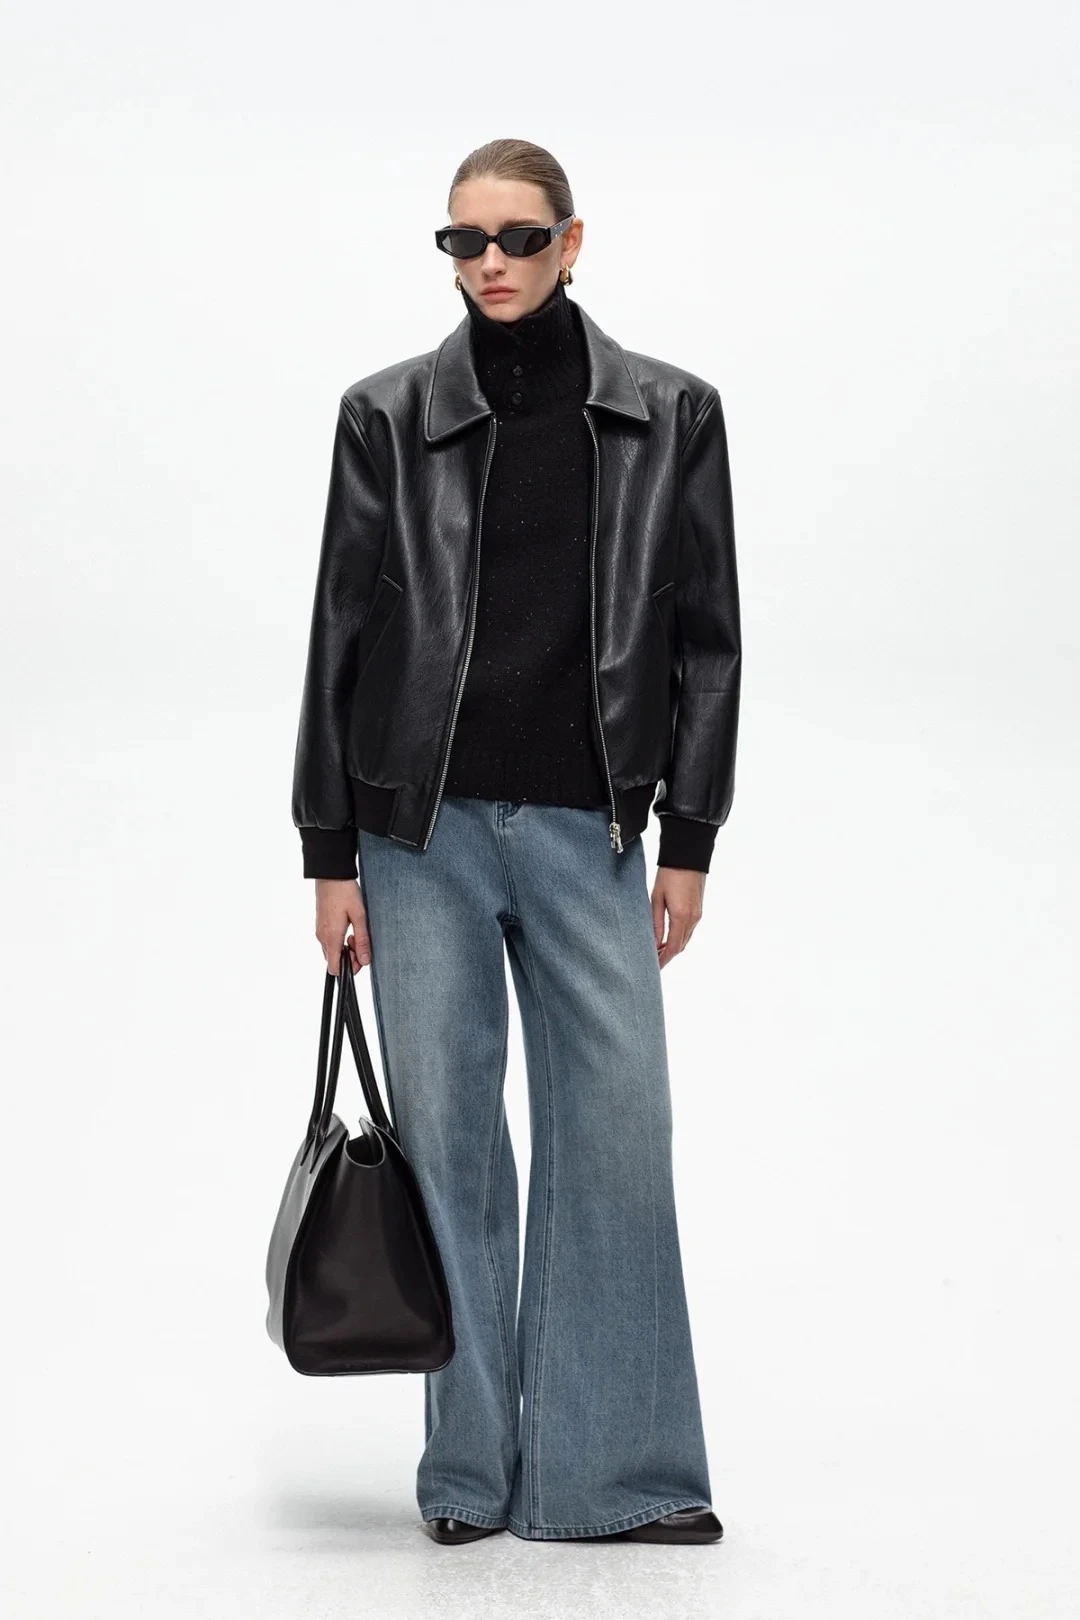 03
A repeatable structure for product views, detail frames and collection imagery.
Read the full storyDecide what a visitor should learn from the first image and what the next frames add. A practical sequence begins with silhouette, then reveals another angle and a close detail. Avoid repeating the same information in several nearly identical images.
Specify a background family, a camera height and an amount of space around the product. Use those rules across a collection before experimenting with a new direction. Consistent presentation makes visual differences between garments easier to see.
Keep a source reference for every colourway. Do not assume that a change in colour leaves print, trim and fabric behaviour unchanged. Review each variant against its own product information and give exported files descriptive names that distinguish the variants.
One reviewer can assess mood, crop and collection coherence; another can check product details against the source. A single approval label should not hide an unresolved issue. Keep a short note with the image describing what is accepted and what needs another look.
Preview the image in a product grid as well as on a detail page. Check whether the garment still reads clearly at a small size and whether a crop removes necessary information. Match the final dimensions and crop to the intended placement.
 04
Use focused references and a clear brief to make better creative decisions.
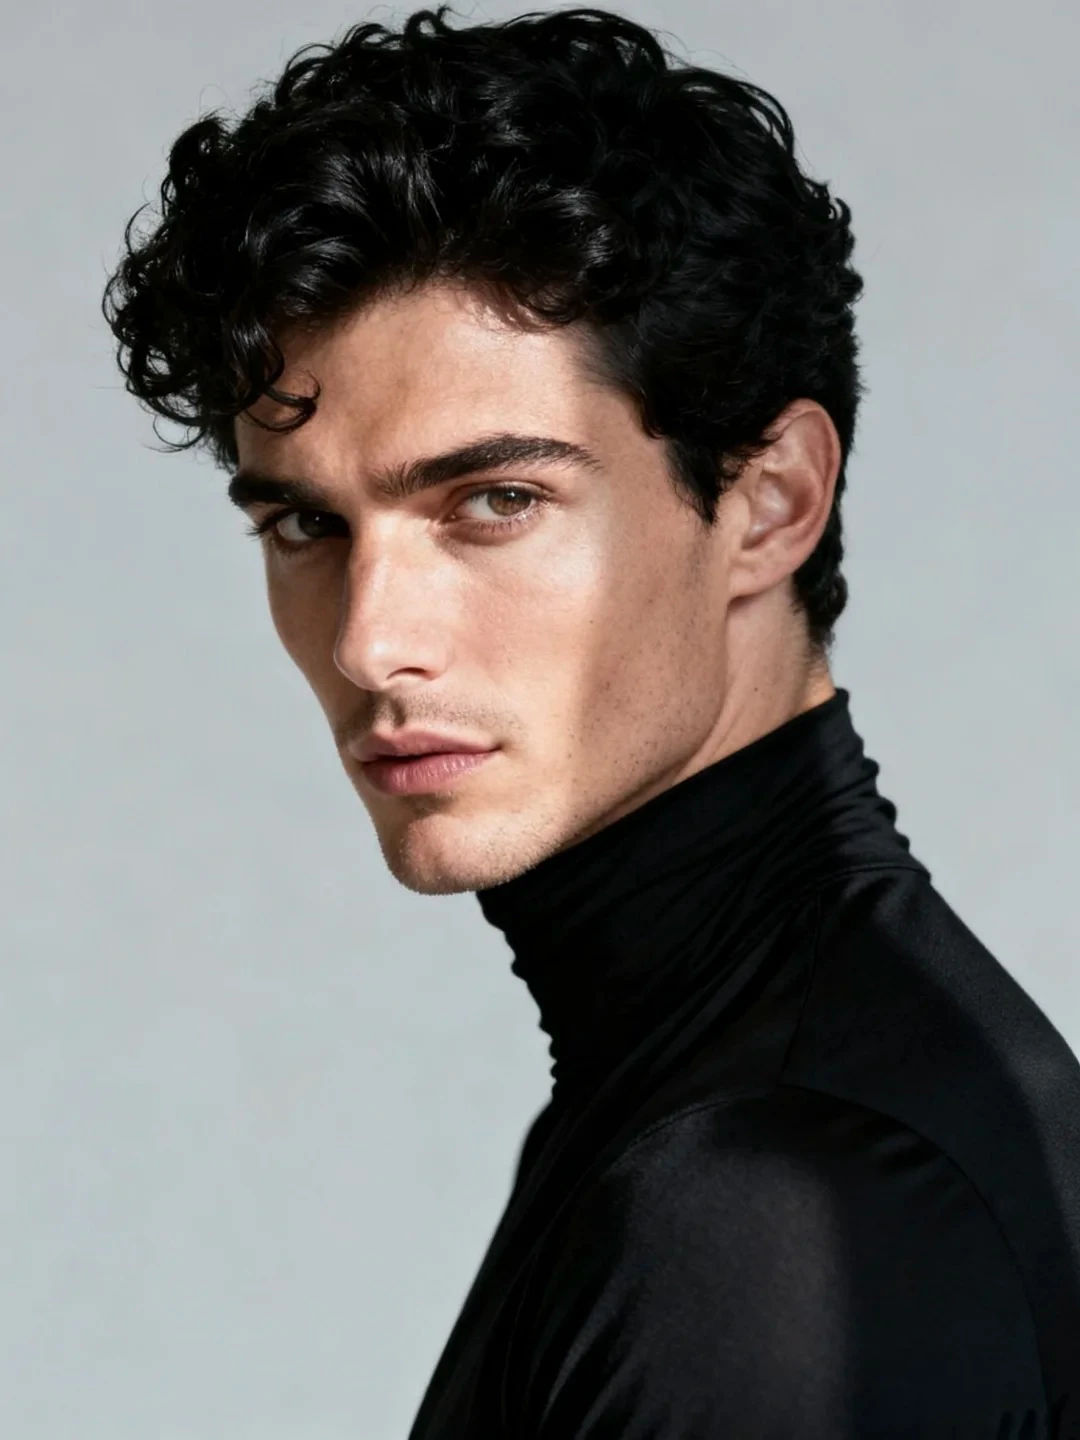
Read the full storyDecide whether the image needs to show a product clearly, introduce a collection or communicate a mood. Browse model references with that purpose in mind, then record the expression, pose and framing that support it.
Begin with a garment that expresses the collection clearly. A readable source with visible edges helps you evaluate whether the proposed model, framing and background fit your intention. Keep complicated layering for a later brief once the basic direction is settled.
Review model references for pose, expression and framing, and write down what you would keep or change. Treat those notes as decisions for a future production workflow. Do not present a reference image as proof that a garment has been faithfully recreated.
Choose a small set of references that agree on lighting, framing and styling. Give each reference a short note explaining what it contributes, and separate essential requirements from details that can vary.
Summarise the selected model direction, required views, lighting and the product details that must stay accurate. Attach the original source, not only the reference moodboard. This makes the next conversation about a real brief rather than an ambiguous promise of a finished image.
 05
A practical way to connect image-making with a recognisable collection identity.
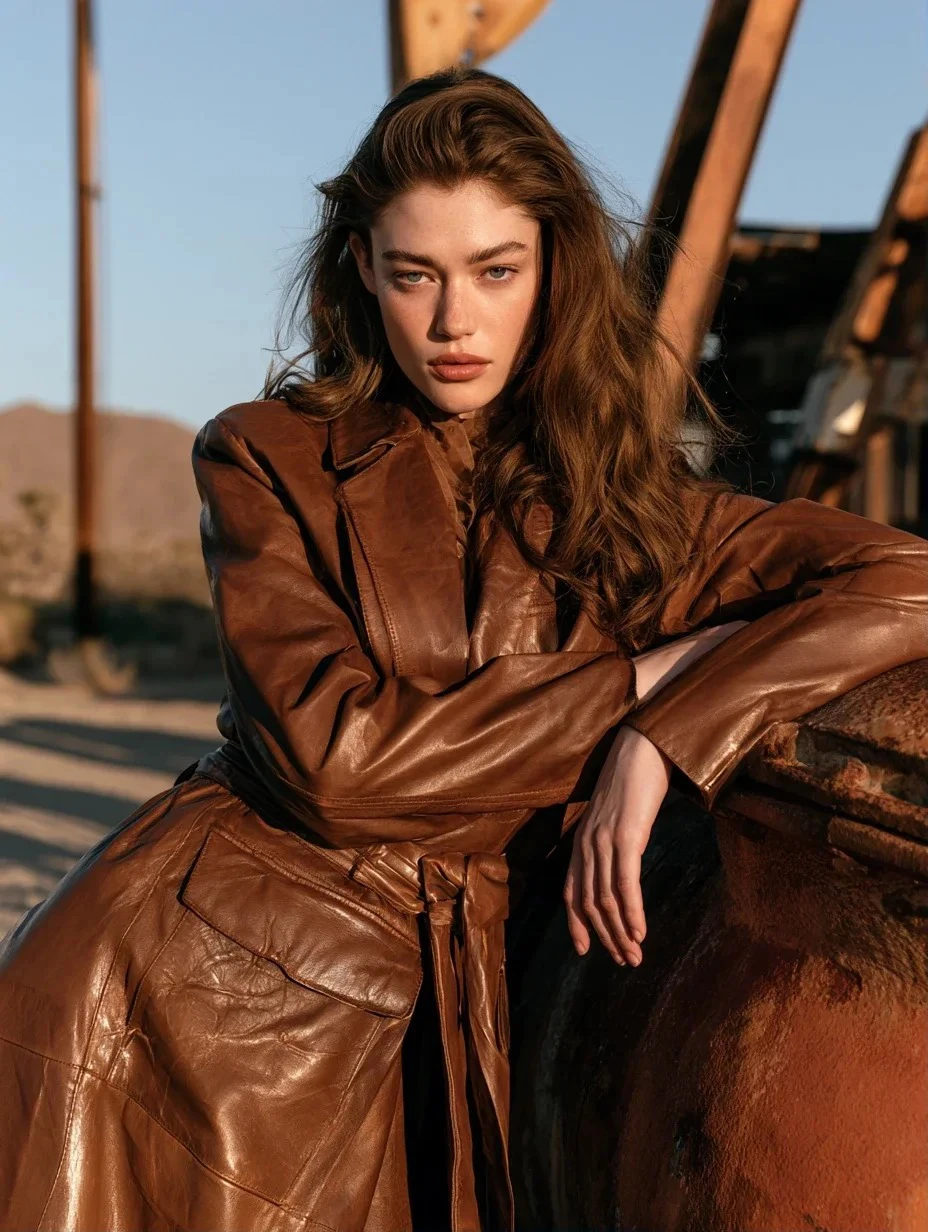
Read the full storyTranslate a broad idea such as “confident” into choices a creative team can use: direct eye contact, open posture, clear light or a restrained background. A short list of observable choices is more useful than a long list of adjectives.
Choose a few references that belong together and explain why. Include examples of framing, light and styling rather than collecting only faces. Also record what falls outside the direction, so a new image can be reviewed without relying on personal taste alone.
A coherent brand does not require every garment to use the same pose or every model to look alike. Keep a few stable decisions while allowing variety in expression and silhouette. Review the whole collection to see whether the variety still feels connected.
Write a short checklist covering product accuracy, visual direction and readiness for the intended channel. Give unresolved details an owner and a next step. Clear criteria help a team discuss a specific image instead of reopening the whole brand direction every time.
Try the visual system on a compact set of products before expanding it. Note which decisions are easy to repeat and which create unnecessary review work. The aim is a more deliberate production process; these notes do not promise a particular sales or conversion outcome.
02 / CONCEPT PROJECTS
Three editorial concepts, each with its complete brief, visual system, proposed image set and review notes.
These are creative studies, not commissioned client work or claims of business results.
 01
A concept wardrobe shaped by soft light, clean silhouettes and a little breathing room.
Read the full storyEDITORIAL CONCEPT · NOT A CLIENT CASE STUDY
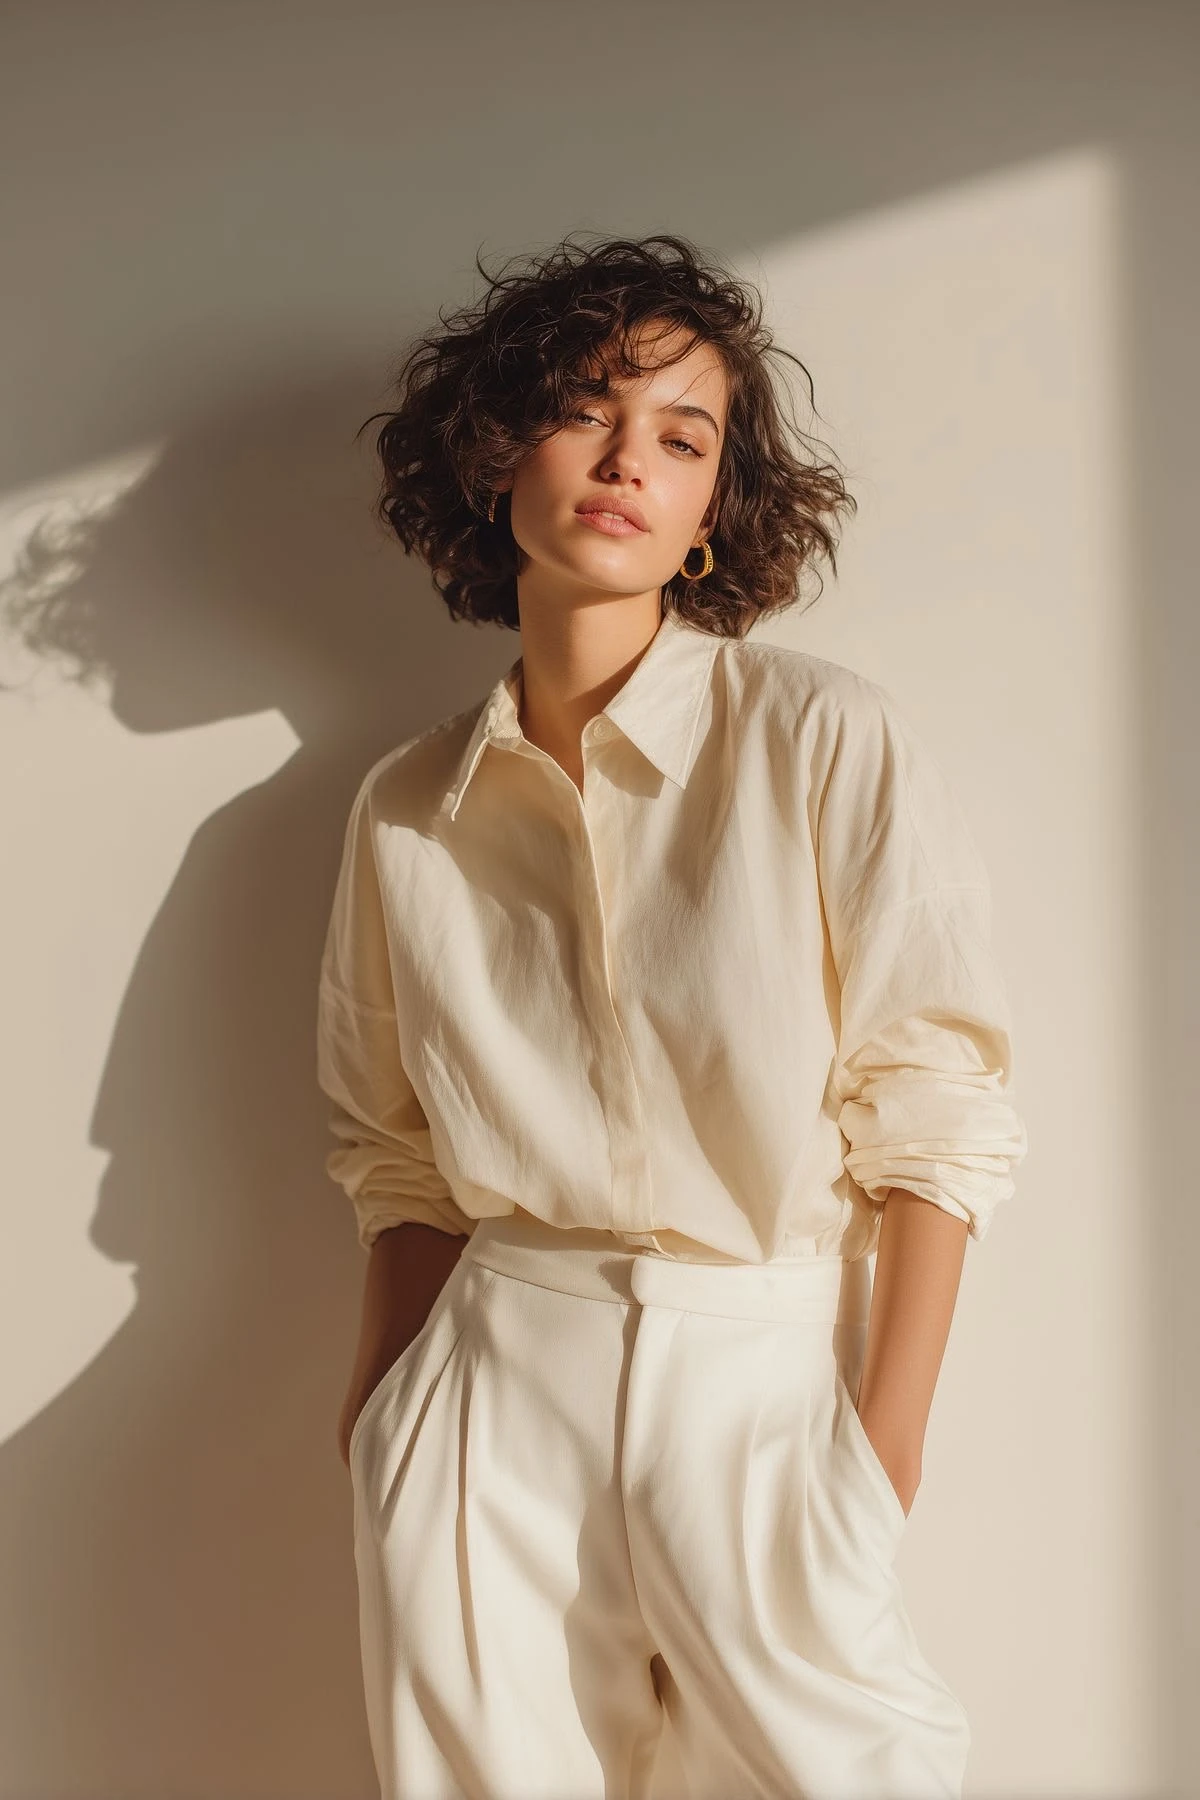
Imagine an everyday collection presented with ease. The creative direction uses an uncluttered set and calm poses so that proportion and fabric can lead the image. This is an editorial concept, not work commissioned by a real client.
Keep the camera near a consistent height and give the full silhouette room to breathe. Pair a complete product view with a closer frame of the upper body. Use a restrained palette across the set, while checking each garment against its own source.
Plan a collection opener, one clear view per look and a final material detail. Use the reference images to explore tone, composition and a coherent visual sequence.
Check that hems remain visible, whites retain detail and styling does not conceal construction. Review the images together at the size they would appear in a collection grid. No customer results or performance metrics are claimed for this concept.
 02
An urban collection study with grounded poses and a sharp, consistent frame.
Read the full storyEDITORIAL CONCEPT · NOT A CLIENT CASE STUDY
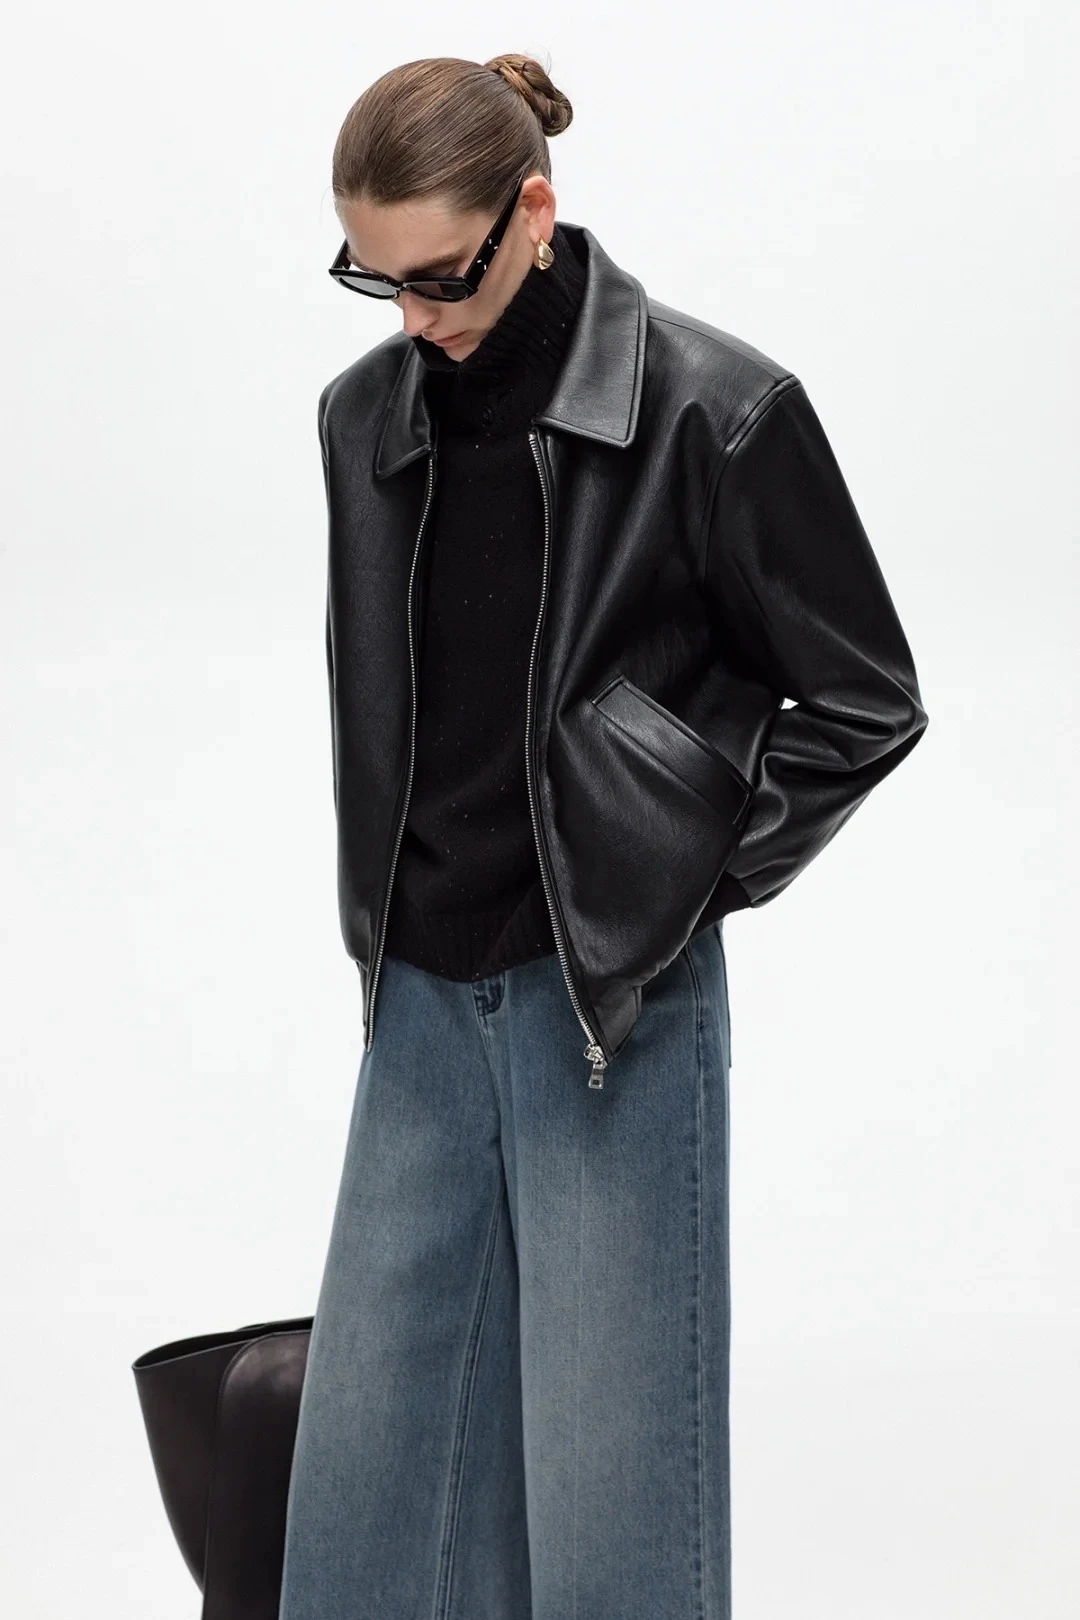
Create a visual direction for a versatile city wardrobe. The mood is purposeful without being theatrical. This fictional brief is designed to demonstrate how a collection direction can be translated into a practical shot plan.
Use a simple set, defined contrast and a consistent amount of space above the head. Introduce variation through the angle of the shoulders and the position of the hands. Preserve at least one straightforward view of every garment.
Pair a standing frame with an alternate crop that brings attention to layering. Add a detail image for closures or pockets when those features matter to the product. The existing imagery serves as a reference for these choices, not a completed campaign.
Check that the model’s pose does not distort a jacket opening or hide the trouser shape. Keep the city mood in service of the product. Record compromises in the shot plan rather than relying on a striking composition to make them invisible.
 03
A study of volume, texture and the quieter gestures that reveal them.
Read the full storyEDITORIAL CONCEPT · NOT A CLIENT CASE STUDY
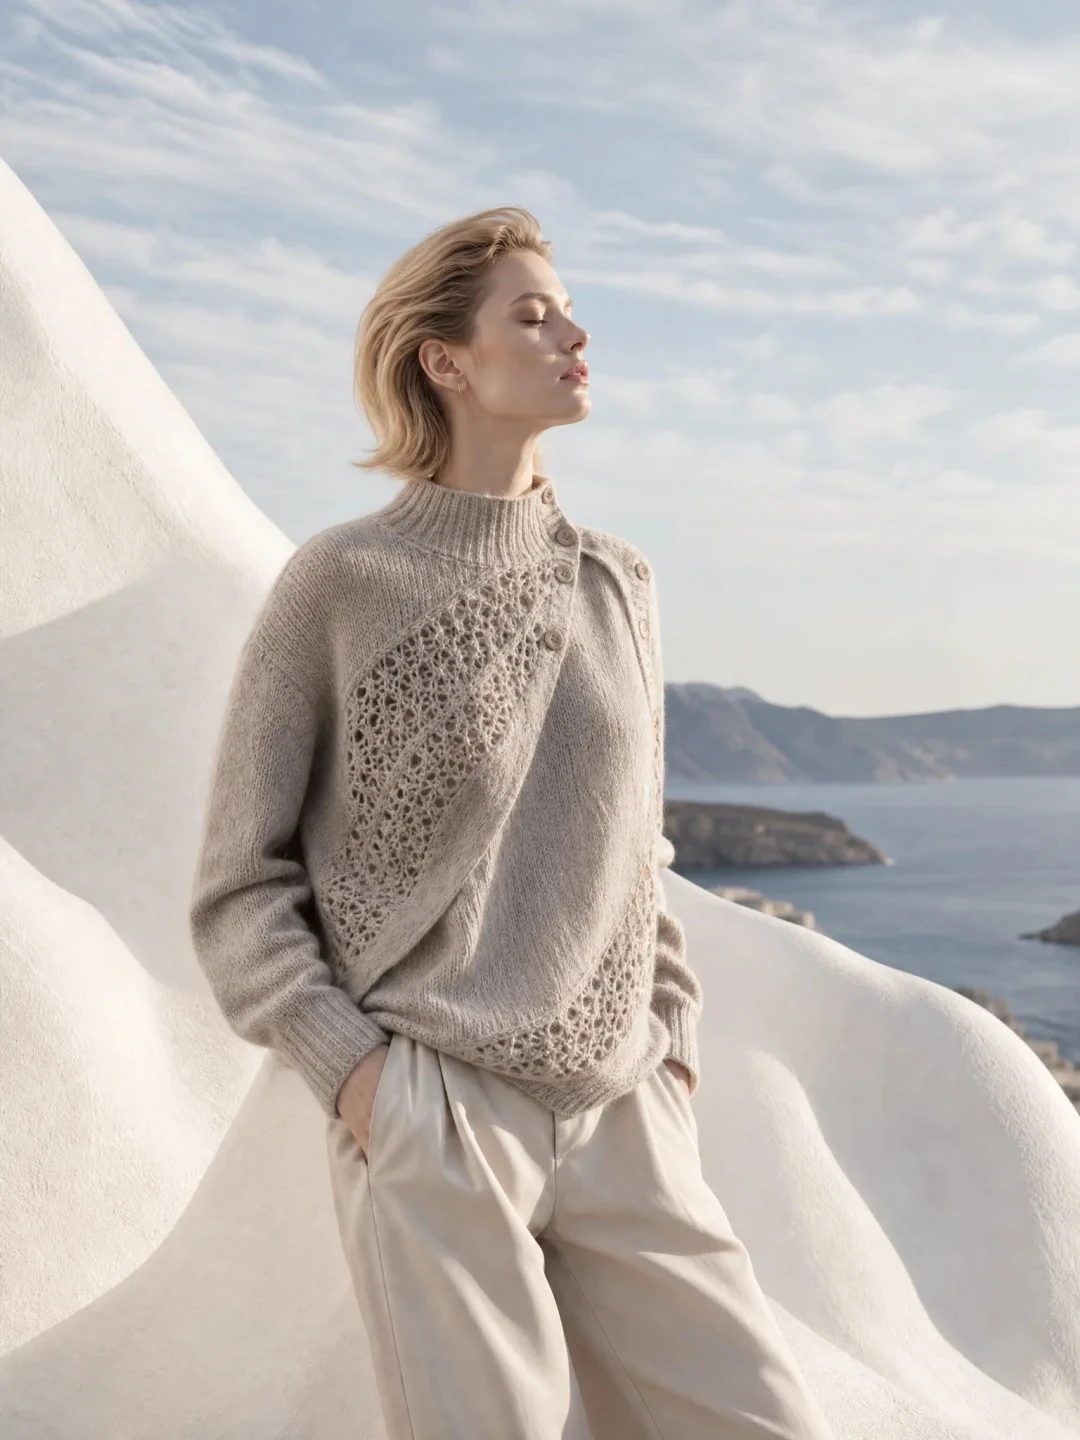
Imagine a capsule built around tactile surfaces and generous shapes. The goal is to describe the feeling of the collection while retaining readable garment edges. This is a sample creative exercise, not a report of a commercial engagement.
Choose calm poses and soft directional light. Give sleeves and hems enough space to show their natural fall. Keep background and garment distinct enough that volume remains visible in a smaller crop.
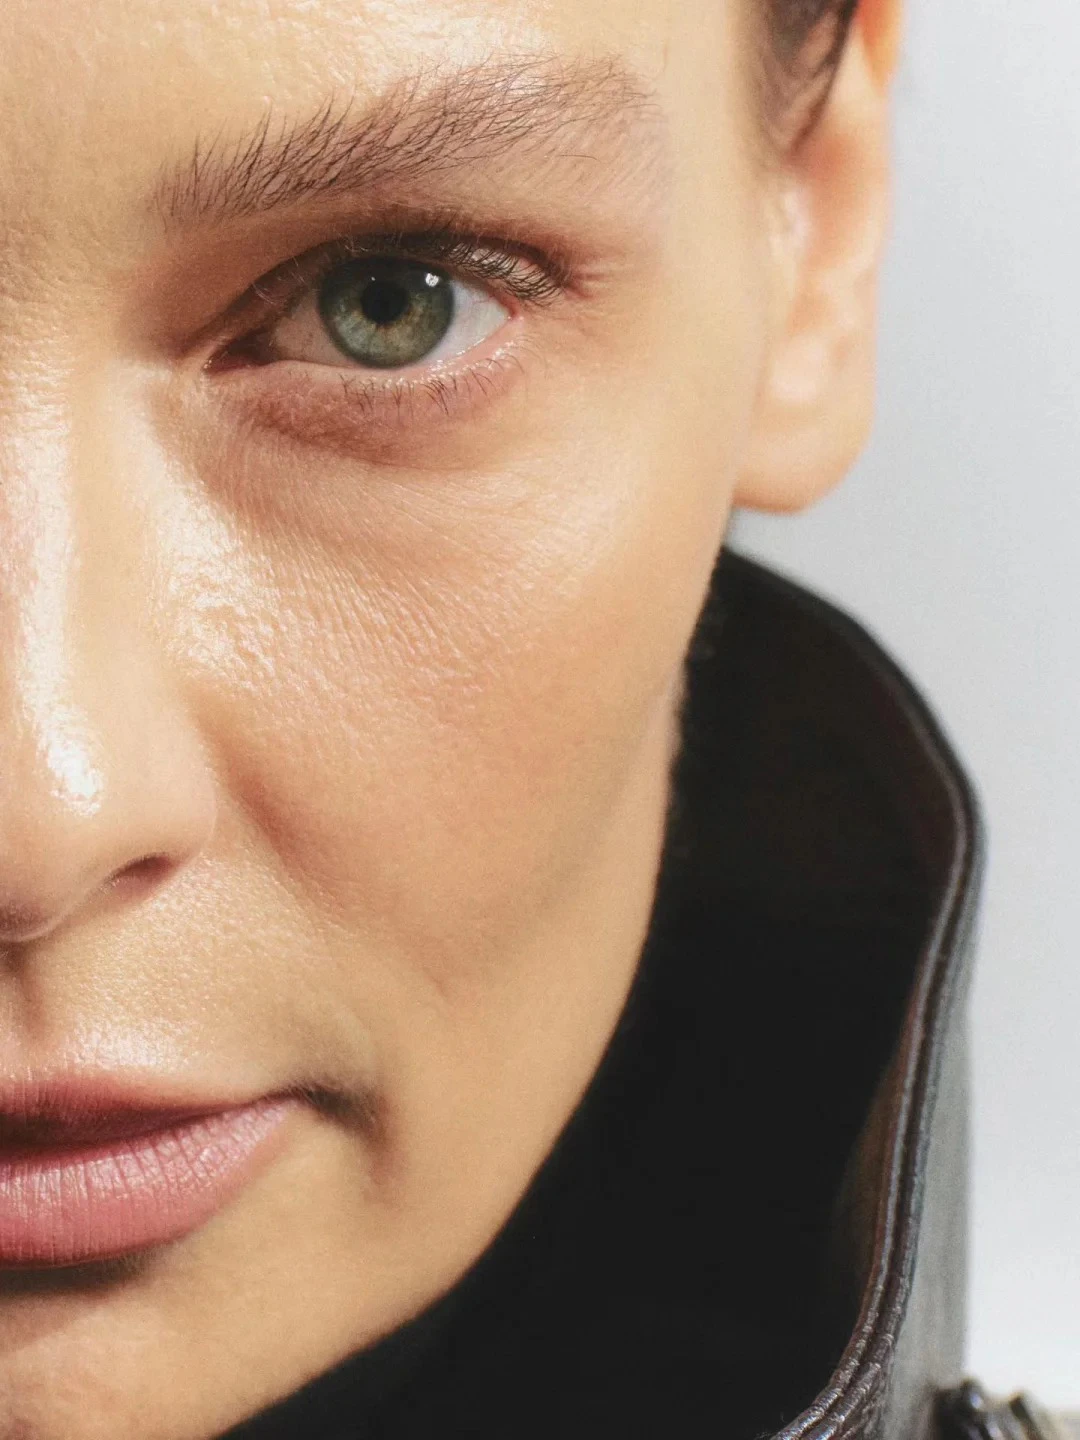
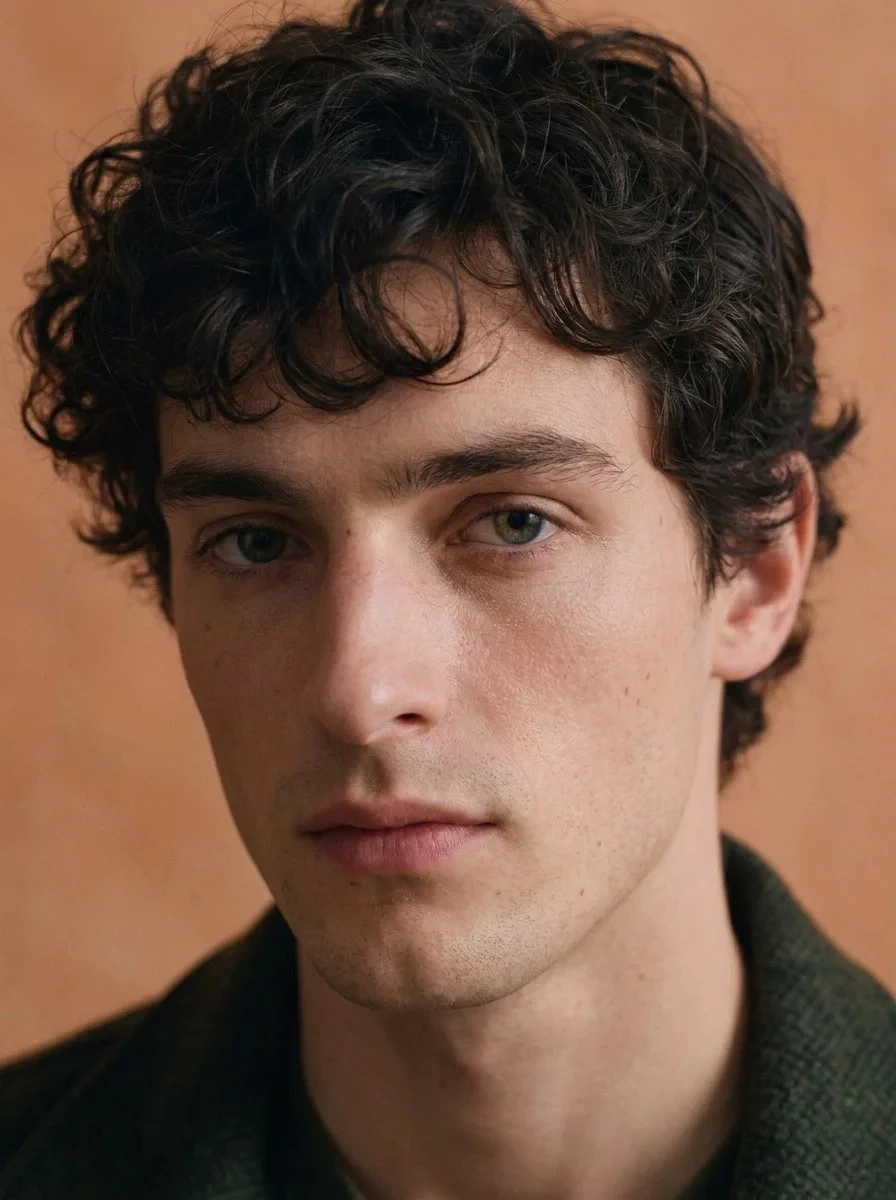
Plan a full silhouette, an upper-body composition and a texture reference for each look. Present those views as a sequence rather than as isolated hero images. The model assets illustrate framing only and do not verify material properties.
Compare folds, seam positions and surface details with the actual product source. Make sure soft light has not removed useful texture. Keep any uncertainty visible in the review notes before a production image is approved.
03 / STUDIO CONVERSATIONS
A written series about the everyday decisions behind fashion imagery. These are illustrative editorial dialogues, not recordings or interviews with real guests.
On choosing a few visual decisions and giving them room to repeat.
With one observable decision. Instead of asking for something “premium,” describe the light, the space around the garment or the way the model stands. That gives everyone a shared image to discuss.
Enough that the collection feels connected, not so much that every frame repeats the last. Keep the backdrop and framing steady, then allow variation in expression or silhouette.
Ask whether the image belongs in the collection, and separately whether it represents the product clearly. A successful mood should not excuse an unclear sleeve or a hidden fastening.
Why a calm, readable photograph is often the most useful starting point.
You can see the whole garment, the light does not hide its surface, and the angle does not exaggerate its shape. It may be less dramatic than a campaign image, but it answers more product questions.
Make it a request for another source view. A missing back view is a production question, not permission to invent the construction of the garment.
A short note about fit, temporary styling and the intended final view. The most helpful handoff explains what matters and what is still uncertain.
On image sequences, useful variation and knowing when a set is complete.
Give the viewer a clear entry point. Show the silhouette and establish the visual tone. The next frames can reveal details without asking the first image to do every job.
When it adds information: an unseen angle, a material detail or a meaningful change in how the garment is worn. A near duplicate may add volume without helping the viewer.
See the whole set together, then see it at a small size. Check rhythm, product clarity and any missing information. A collection is a sequence the viewer experiences, not just a folder of individual images.
04 / Research
A framework for AI fashion models, image generation and retouching: what to preserve, how to define brand standards, and what to review after production. These are proposed evaluation directions, not proprietary technology claims or validated results.
Study how a visual workflow preserves silhouette, construction and surface detail. Keep the actual product source visible during review, and log discrepancies at seams, edges and prints rather than judging only the overall mood.
Define reference lighting, background, framing and retouching intensity before preparing a set. Compare each variation with that shared brief while keeping the product legible. A useful standard records what may change and what must stay consistent.
Compare each image with its source, inspect garment details, colour and image edges, and record any corrections separately from creative choices. Use a shared checklist to keep product accuracy and visual quality clear throughout the review.
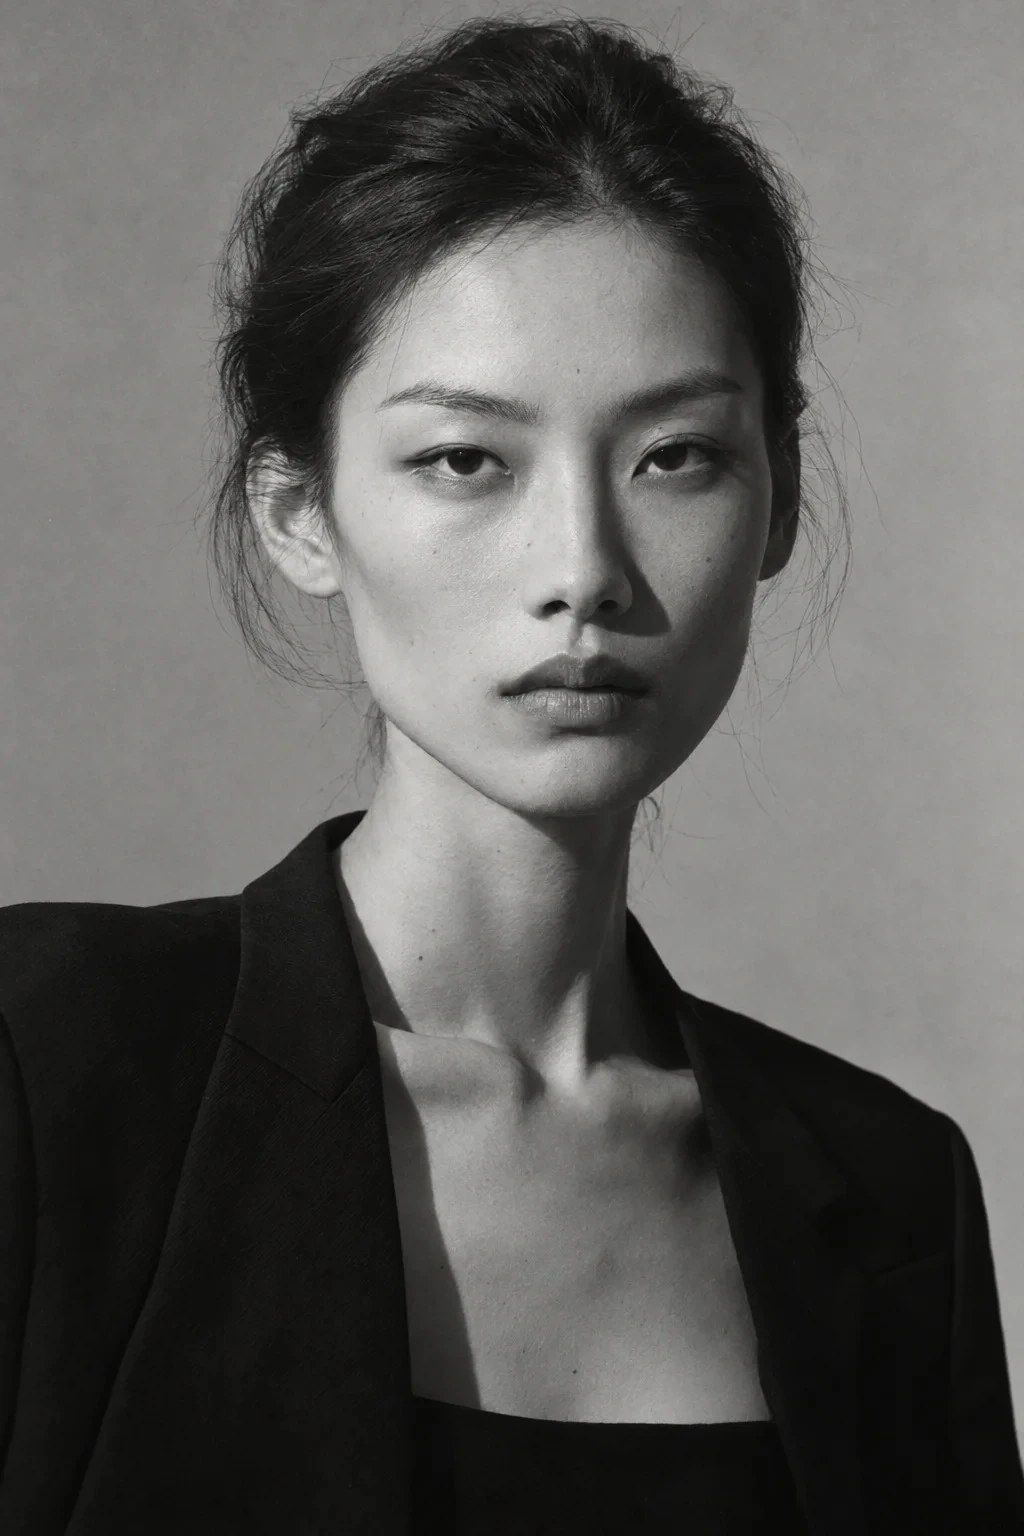
05 / Creative roles
Explore the roles a fashion image workflow needs, from model selection and generation direction to retouching and quality review.
Translate the brand’s intention into a brief: mood, model direction, lighting and the role of each image. Keep the collection coherent while leaving space for each garment to have its own character.
Prepare the source material, record garment fit and construction, and specify what may be cleaned up without changing product facts. Separate styling changes from colour, surface and background refinements so the scope is clear.
Define separate checks for product accuracy and brand consistency, record corrections, and agree which version is ready for each intended use. Keep the approved files and review notes together for a clear handoff.
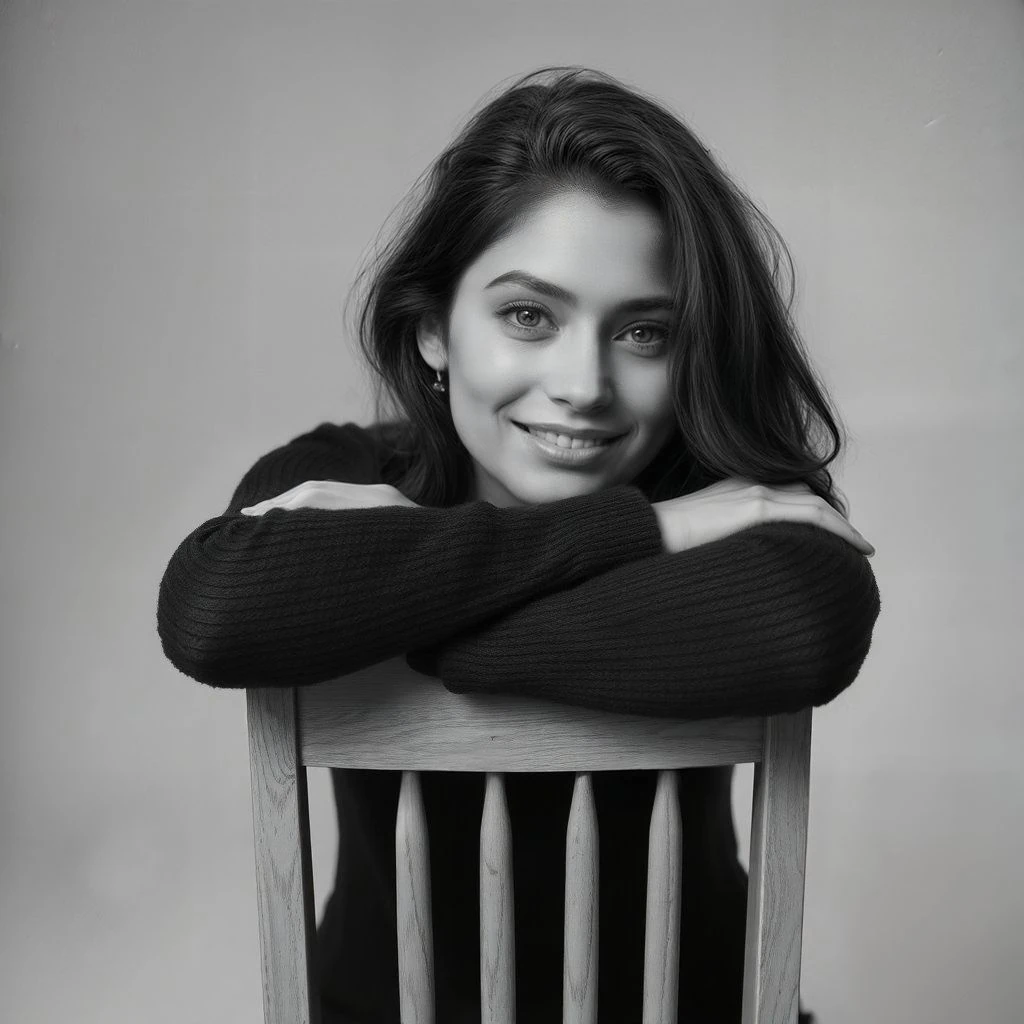
06 / Partners
Outline a possible collaboration around AI fashion imagery, source photography or retouching. Describe the role, material and review scope to make your proposal clear.
Bring a source-image method, a styling direction or a retouching approach. A useful proposal names the product category, reference aesthetic, details to preserve and the way corrections would be reviewed.
Describe the collection, the image placements and the decisions that slow your current workflow. A clear product brief is a stronger starting point than a promised volume or an unverified performance target.
Outline how you organise direction, production and review across a campaign. Share the kind of collaboration you are considering and what a useful handoff would contain.
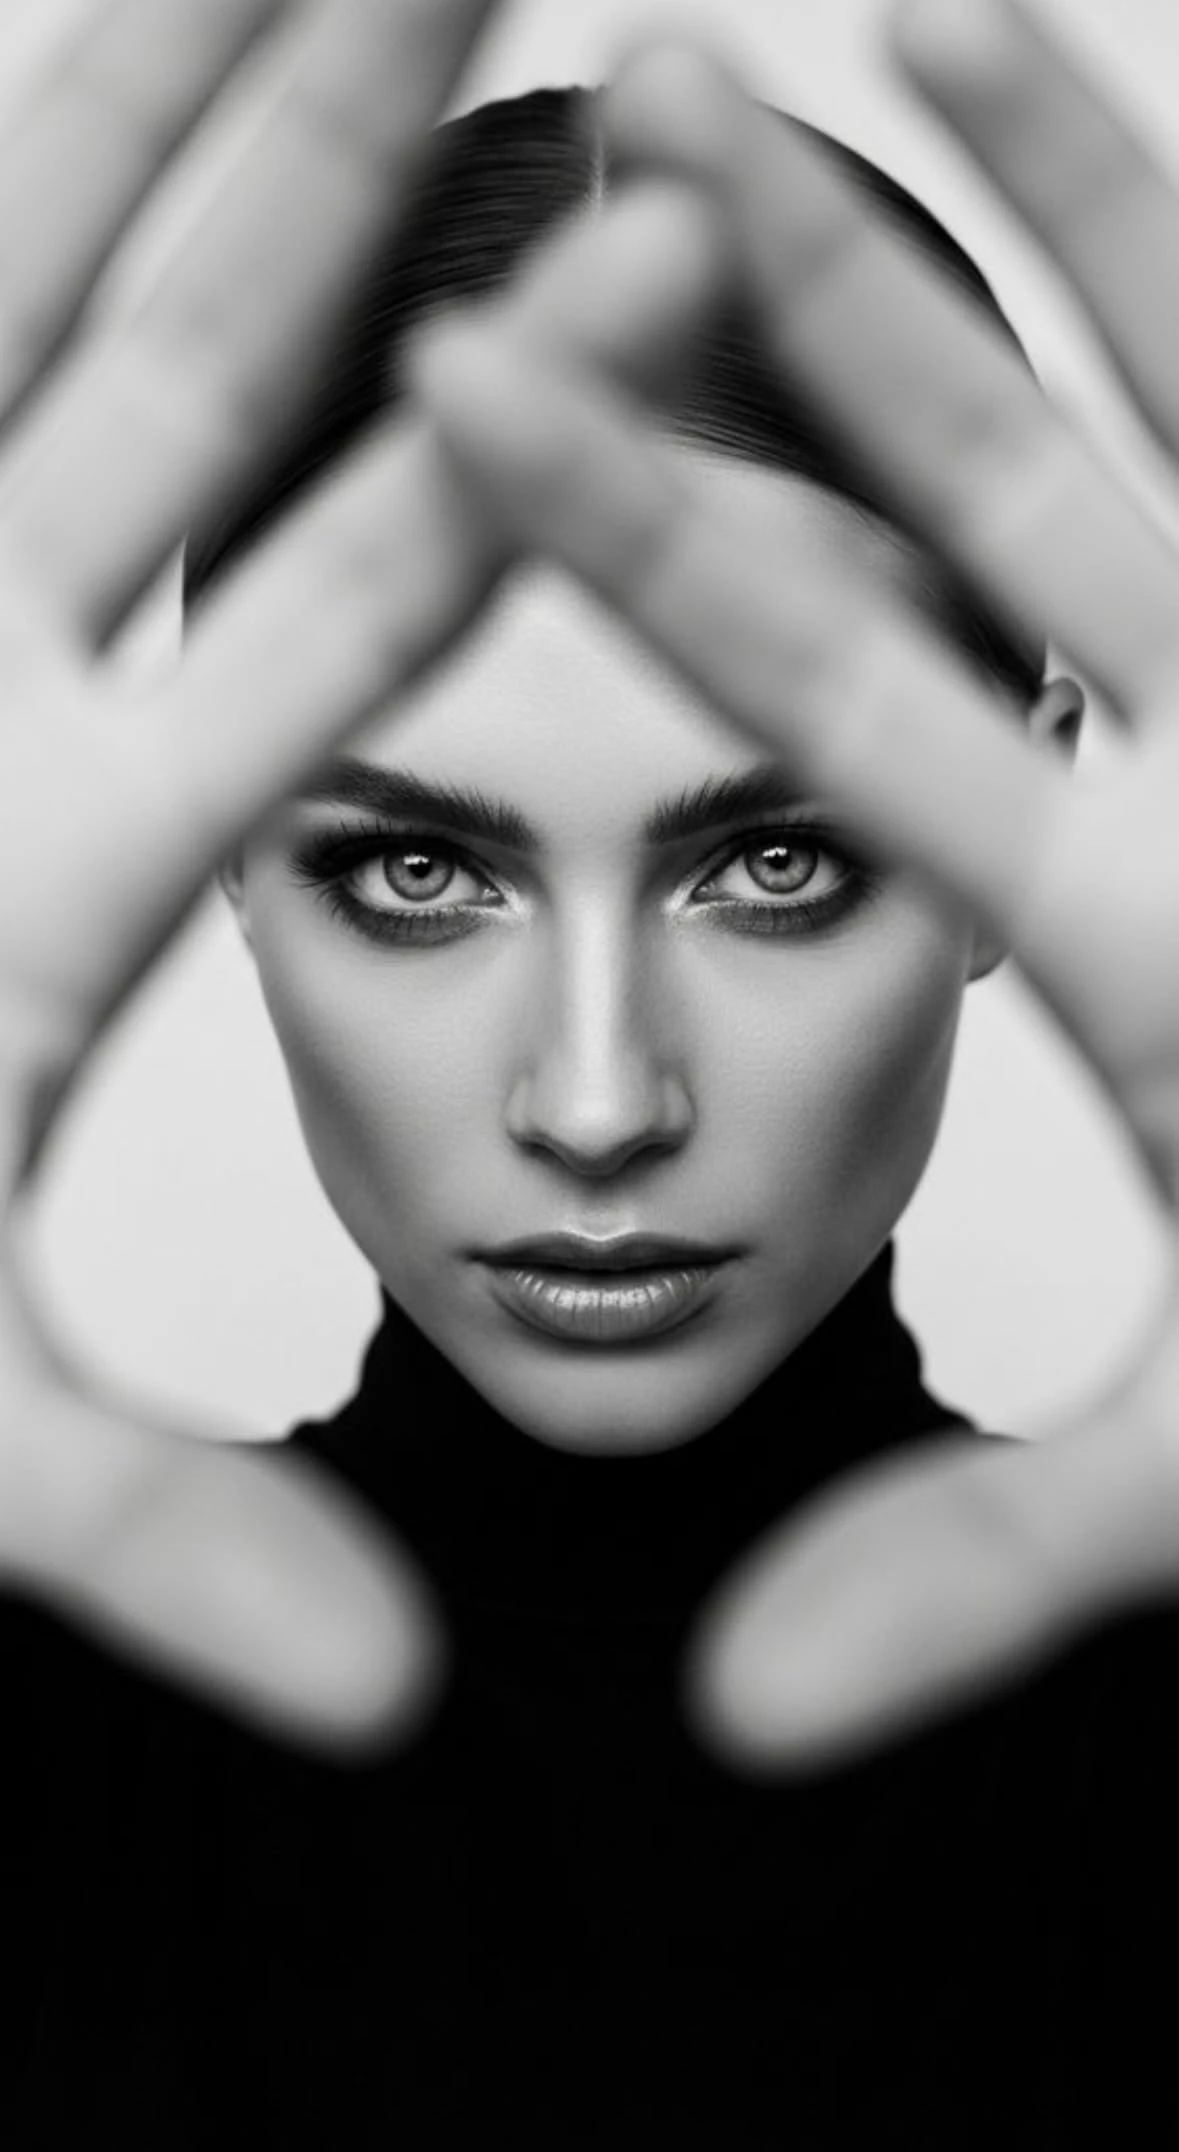
07 / Community
Explore our collection of guides and concept lookbooks to find a starting point for your own creative direction.
Read a journal guide and choose one idea to apply to your own brief: a clearer source image, a more consistent crop or a separate product review. Good inspiration gives you a decision to make next.
Use the concept lookbooks to see how a mood can become a sequence of images. Each study includes its brief, proposed visual system and review questions, without presenting a fictional client result.
Write down a reference, a question and the creative problem behind it. Use the contact page to organise your thoughts into a focused inquiry draft.
A STUDY IN PRESENCE
From a crisp shirt collar to the texture of knitwear, a considered portrait lets the clothing and the person speak together.