Document the construction
Use a clear mannequin photograph and document neckline, sleeves, hem, and closures, including areas hidden from view.
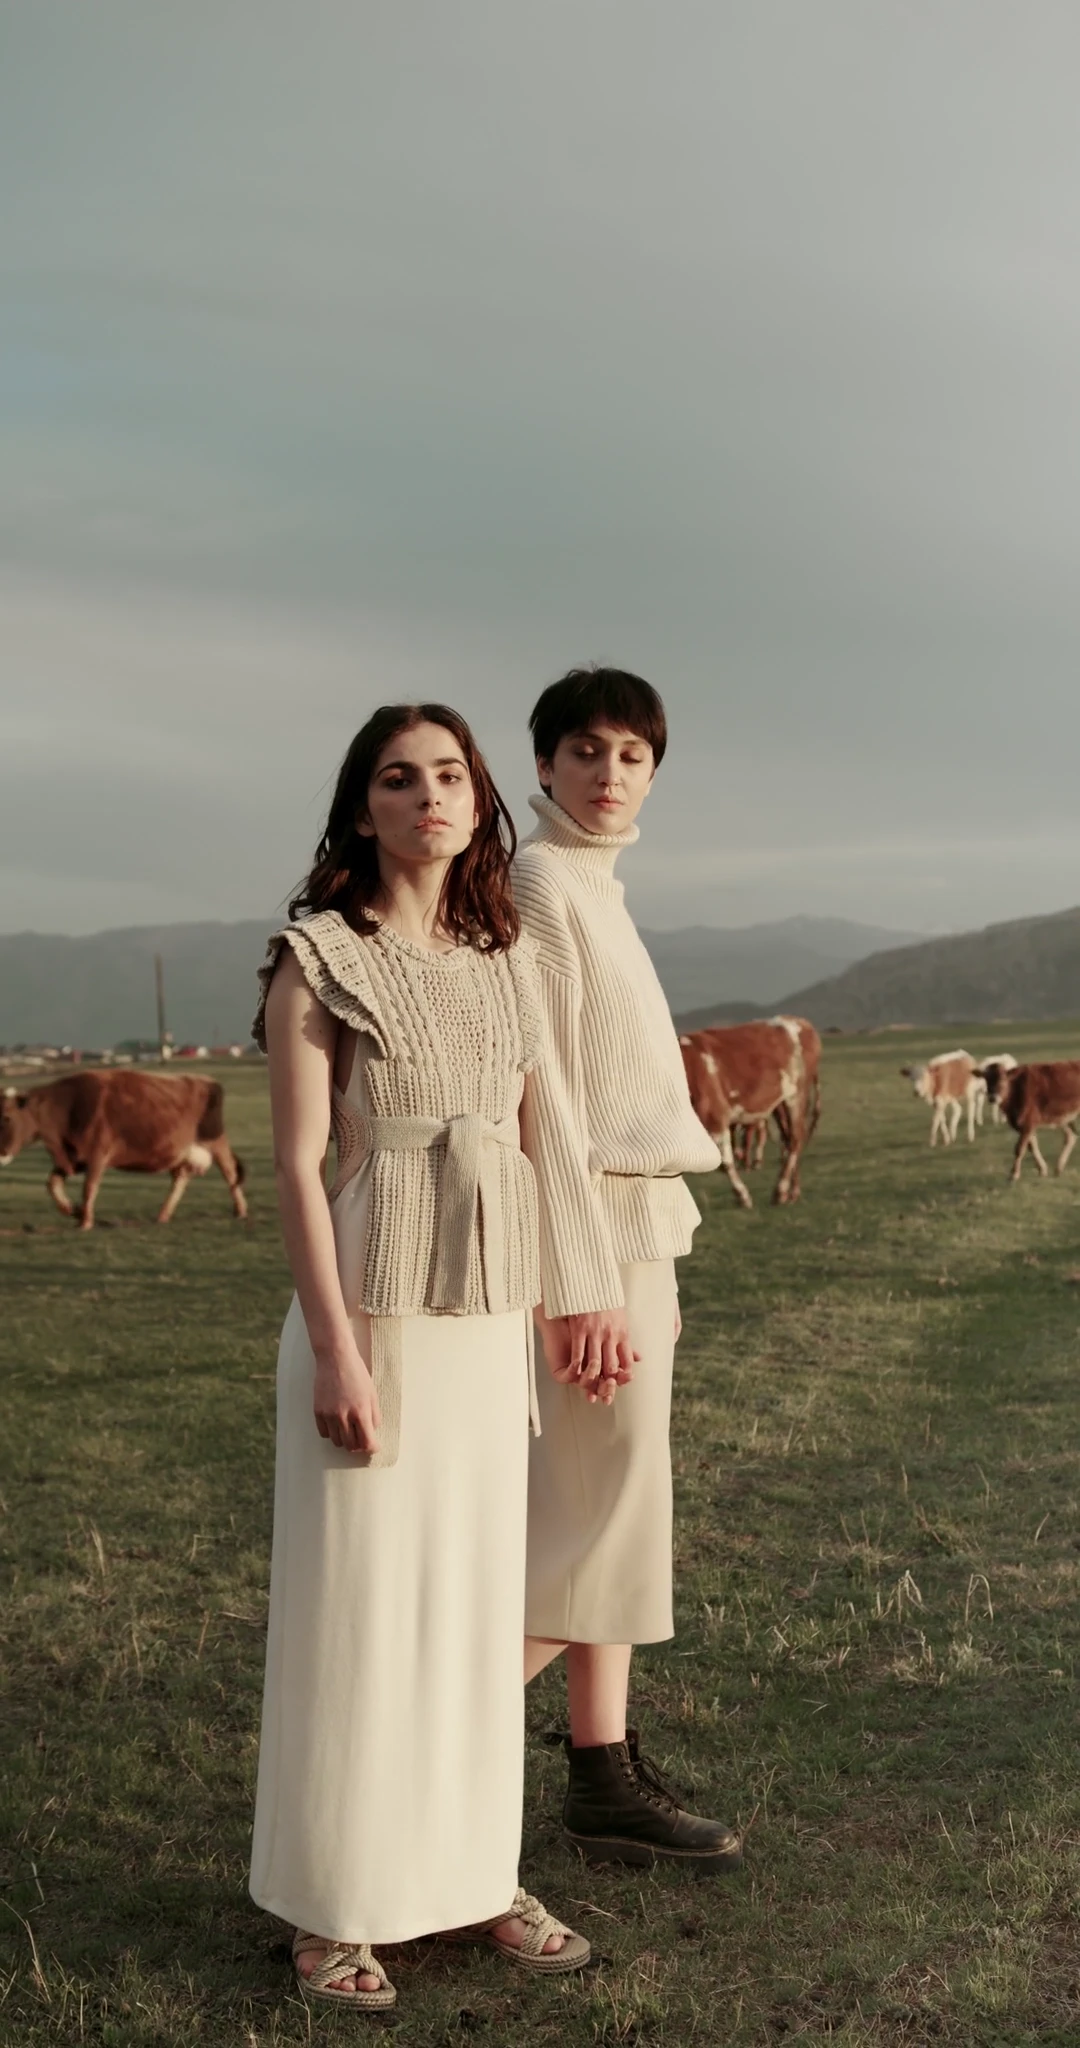
Plan an AI model image from mannequin photography, using the original silhouette as a guide. Keep construction and proportion visible as you explore a more expressive presentation.
Discuss your next image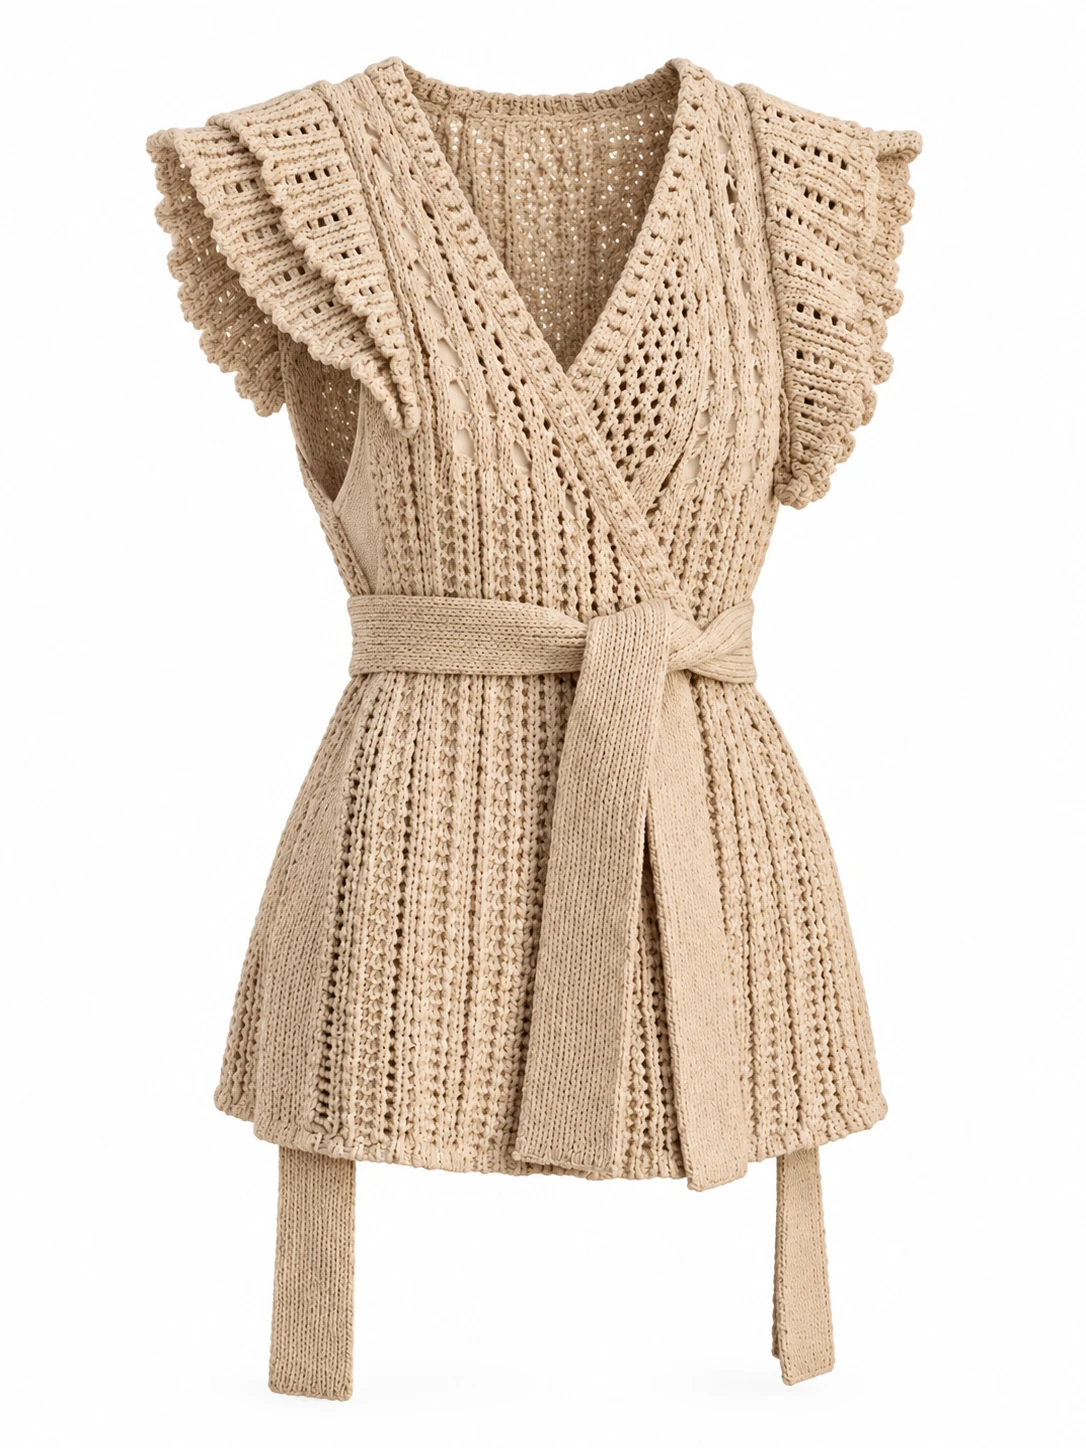 03 / STRUCTURE & PRESENCE
From source image to a clear direction and review criteria.
Use a clear mannequin photograph and document neckline, sleeves, hem, and closures, including areas hidden from view.
Describe the intended fit and posture. Use the mannequin as a product reference while specifying the intended human proportions.
Plan to check necklines, cuffs, body contact, and garment volume in future outputs, with specific notes for corrections.
THE IMAGE REVIEW CHECKLIST
Document the seams, texture, color, and fit that should be checked against the source.
Align model presence, styling, lighting, and backdrop around one visual language.
Set criteria for future outputs and note local corrections before publication.
Start with model references, a brand mood, and the channels where the images will appear. Bring these together with your product details in a clear project inquiry.
Use the images to compare model presence, styling, light, and composition, then identify the details that suit your collection.
Use a clear image of the actual product. Note the details to preserve, the changes you want, and the brand references that should guide the result.