Prepare the source
Show the full garment with visible edges and even light. Note details that a single flat-lay view cannot explain.
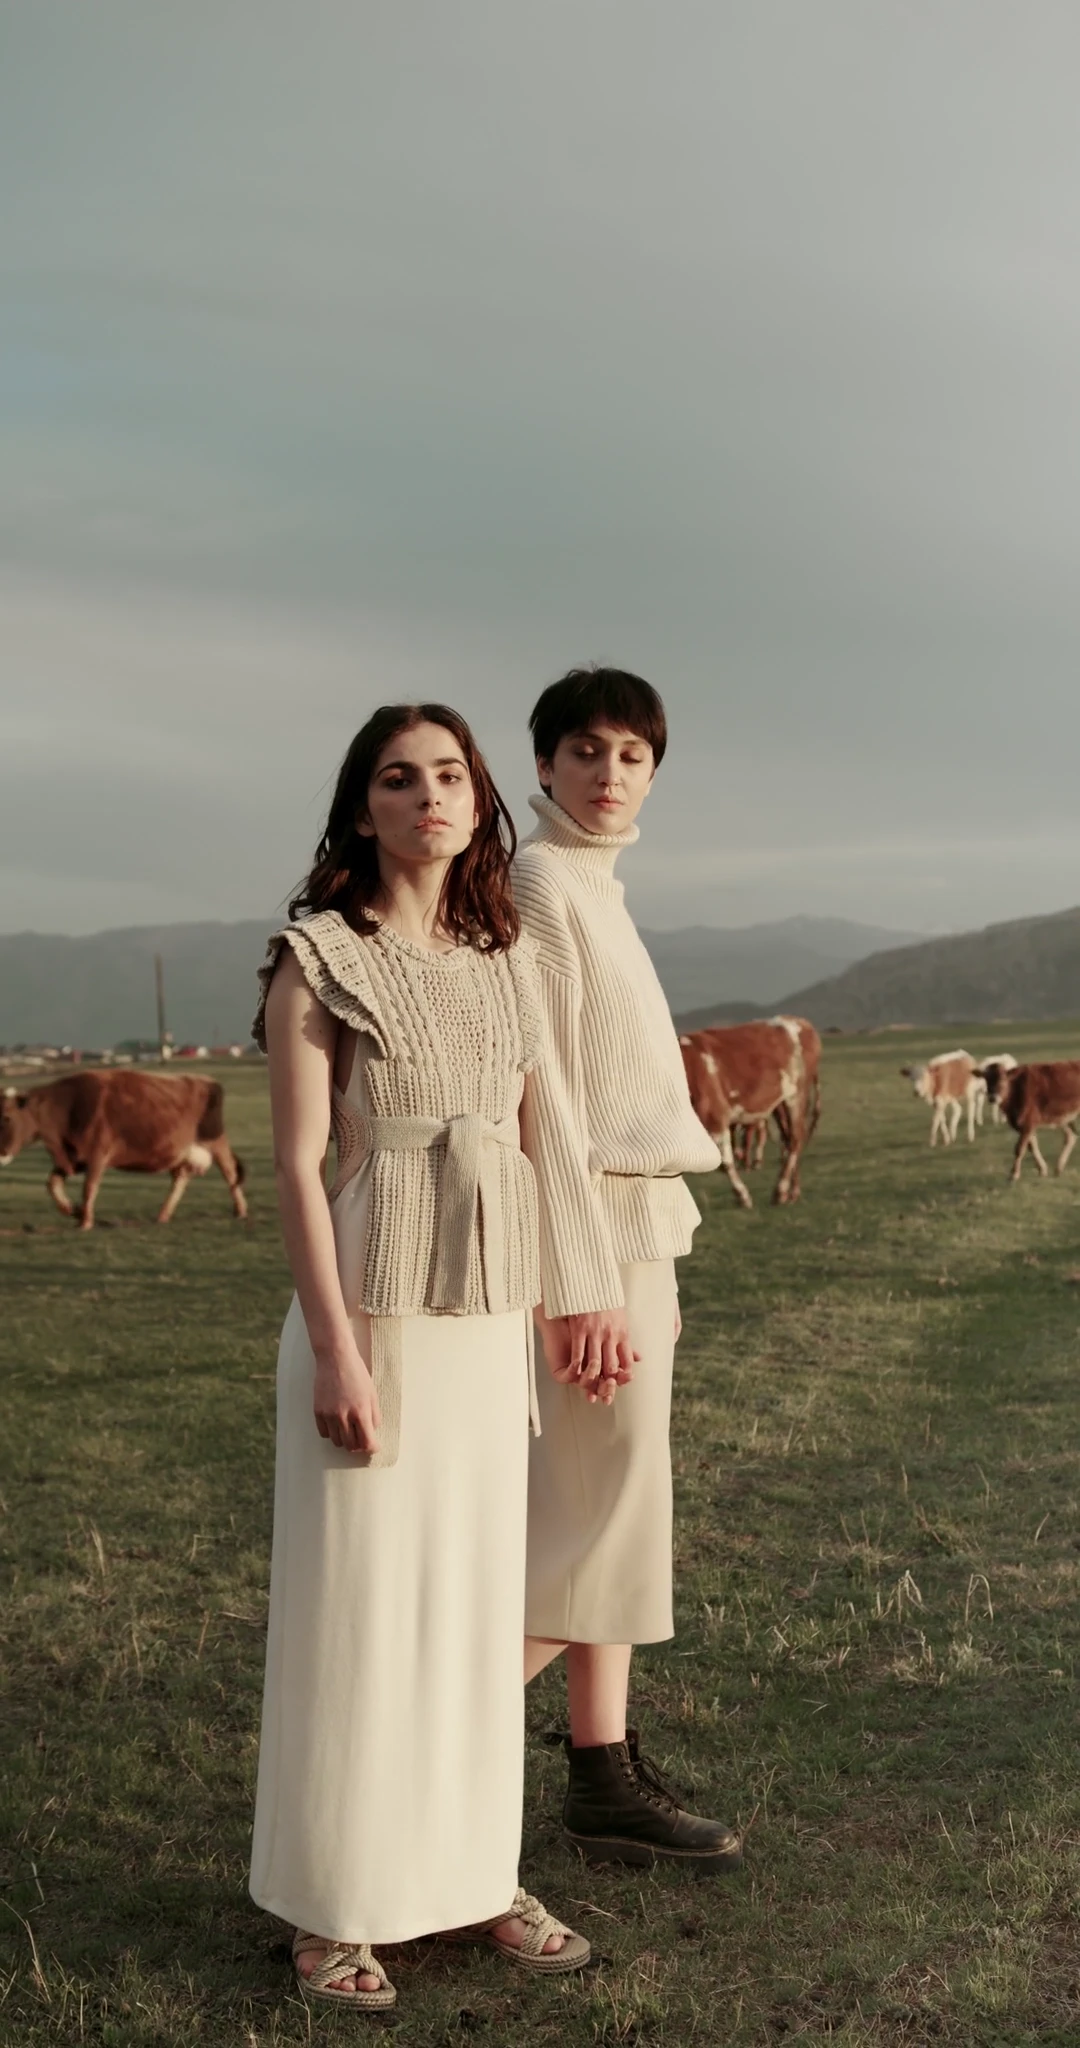
Use flat-lay product photos to plan AI on-model imagery. Define the fit, styling, and framing, then make garment construction and texture part of the review.
Discuss your next image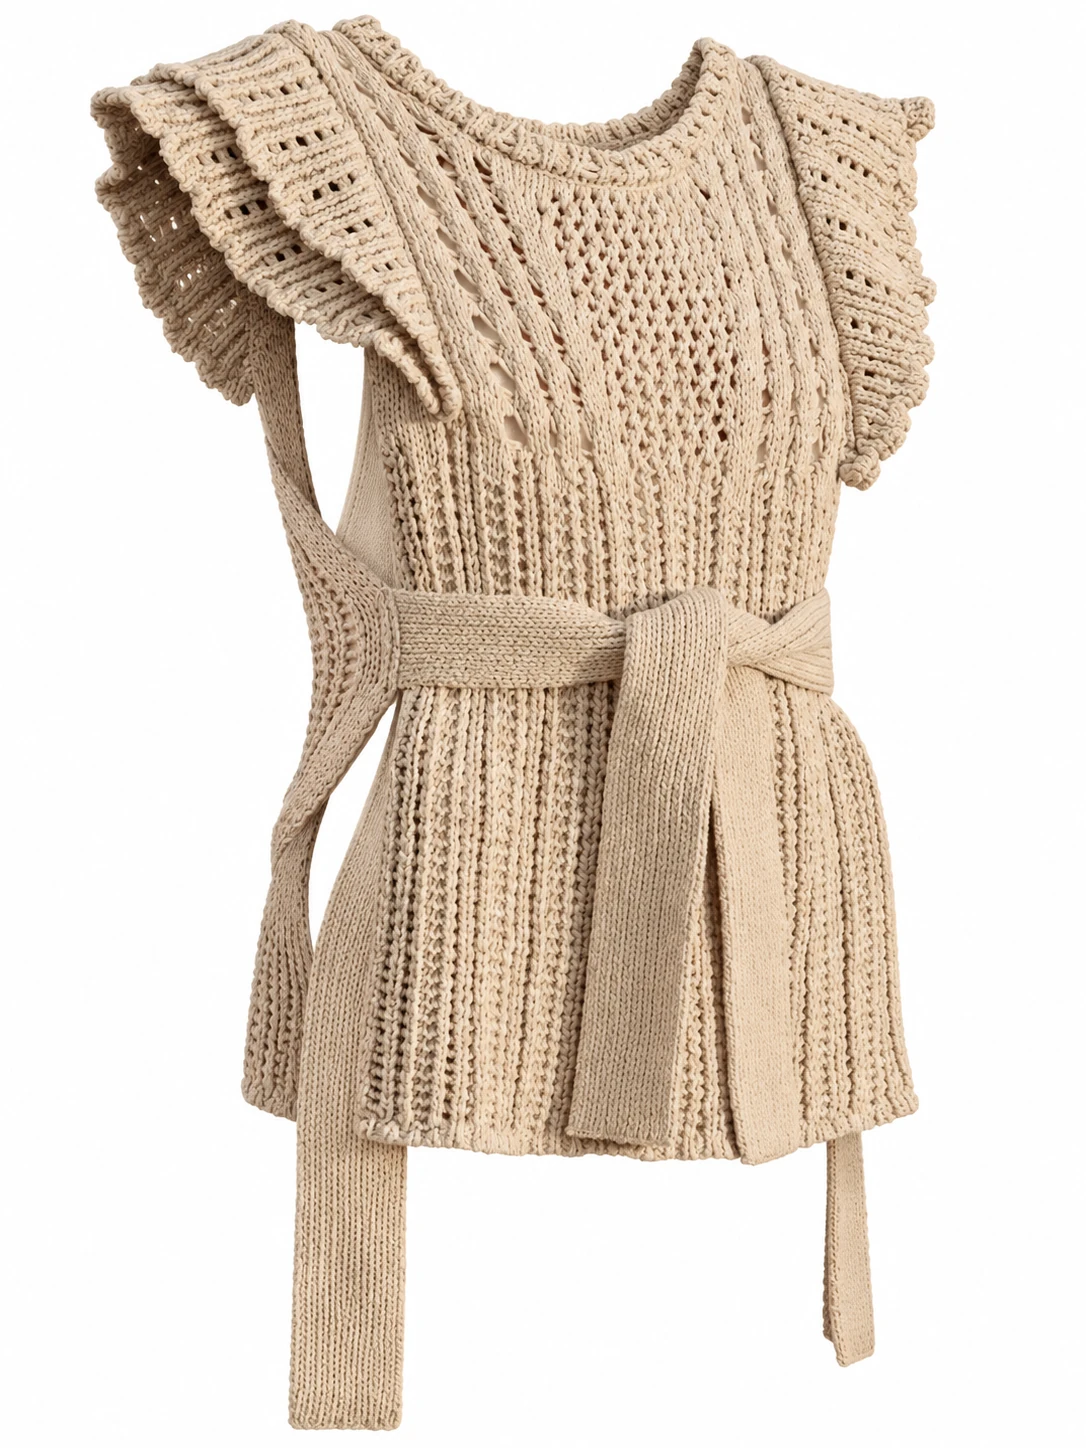 02 / FROM PRODUCT TO LOOK
From source image to a clear direction and review criteria.
Show the full garment with visible edges and even light. Note details that a single flat-lay view cannot explain.
Specify length, volume, layering, and model direction. Separate essential product features from styling choices.
Review future images against the actual item for closures, print placement, folds, and fabric behavior before selecting a final look.
THE IMAGE REVIEW CHECKLIST
Document the seams, texture, color, and fit that should be checked against the source.
Align model presence, styling, lighting, and backdrop around one visual language.
Set criteria for future outputs and note local corrections before publication.
Start with model references, a brand mood, and the channels where the images will appear. Bring these together with your product details in a clear project inquiry.
Use the images to compare model presence, styling, light, and composition, then identify the details that suit your collection.
Use a clear image of the actual product. Note the details to preserve, the changes you want, and the brand references that should guide the result.